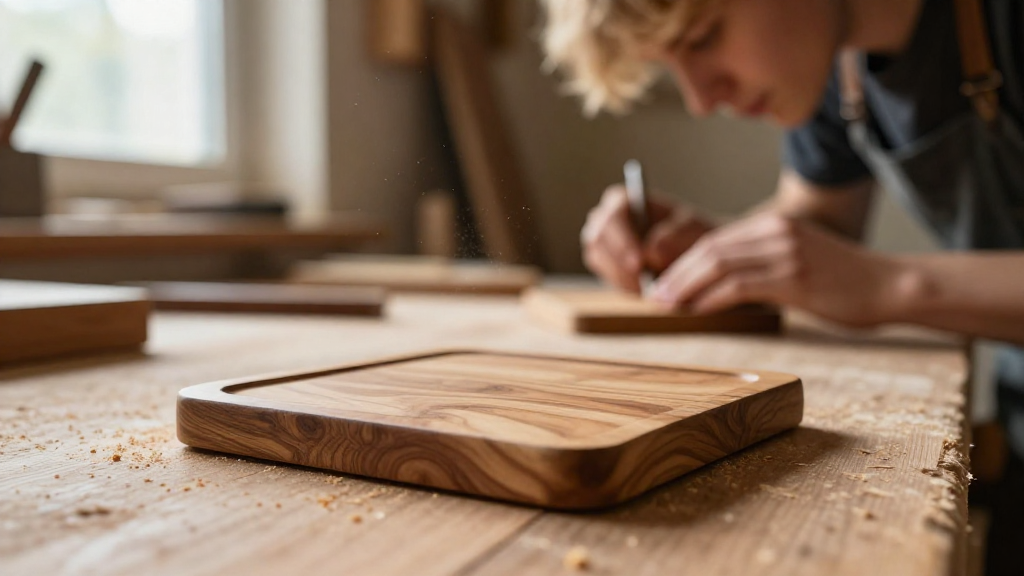
If you’re wondering how to make wooden coasters, you’re in for a creative treat!
Creating wooden coasters at home not only saves you money but also allows you to personalize your space with unique designs.
In this article, we’ll explore the materials, tools, and step-by-step instructions needed to teach you how to make wooden coasters.
What Materials Do You Need?
To get started on your journey of how to make wooden coasters, gather the following materials:
- Wood Planks: Choose hardwood such as oak, maple, or walnut for durability, or go with softwood if you want something lighter.
- Measuring Tape: For precise measurements.
- Pencil: To mark your wood.
- Saw: A jigsaw or circular saw will do the job.
- Sandpaper: For smoothing edges.
- Wood Finish: Options include polyurethane, varnish, or natural oils.
- Stencils or Paint: For customizing your coasters.
- Brushes or Rollers: For applying the wood finish.
Each of these materials contributes to the overall aesthetic and longevity of your coasters.
How Do You Prepare the Wood?
Preparation is a crucial step in learning how to make wooden coasters.
Begin by measuring and cutting the wood:
- Decide on the Size: Standard coasters are typically 4 inches by 4 inches, but you can customize this based on your preferences.
- Mark the Wood: Using a pencil, mark the areas where you will cut.
- Cut the Wood: Carefully use a saw to cut the wood according to your measurements. Always follow safety guidelines.
- Sand the Edges: Take the sandpaper and smooth all edges to prevent any splinters.
Prepping your wood properly ensures a smoother and safer finished product.
What Are the Best Designs for Your Coasters?
Now that you’ve prepared your wood, let’s dive into design ideas. This is where you can truly express your creativity while learning how to make wooden coasters.
- Natural Finish: Simply apply a clear coat of finish to highlight the wood grain.
- Painted Designs: Use acrylic paint to create shapes, patterns, or seasonal themes.
- Wood-Burned Art: If you have the tools, wood-burning creates beautiful, intricate designs.
- Photo Coasters: Use Mod Podge to adhere printed photos or images for a personal touch.
Choose a design that resonates with your style and complements your living space!
How Do You Finish Your Coasters?
Finishing is an essential part of how to make wooden coasters.
A good finish not only enhances appearance but also protects the wood from moisture. Follow these steps for an effective finish:
- Clean the Surface: Make sure your coasters are free of dust and debris.
- Apply the Finish: Use a brush or roller to apply the wood finish evenly.
– For natural oils, you might want to apply several coats.
– For polyurethane or varnish, thin layers are advised. - Let it Dry: Allow to dry completely according to the manufacturer’s instructions. This usually takes a few hours to a day.
- Sand between Coats: If you want a smoother finish, lightly sand between each coat before applying a new one.
Finishing your coasters not only elevates their look but also ensures they are long-lasting.
What Tips Can You Use to Make Great Coasters?
When you know how to make wooden coasters, there are several tips and tricks you can use to ensure your coasters turn out beautifully.
- Experiment with Shapes: While square coasters are traditional, you could try circular or hexagonal shapes for a modern touch.
- Use Different Textures: Mix wood types or add cork to one side for added grip and a unique texture.
- Create Matching Sets: Consider designing a set of coasters that share a common theme or color palette for coherence.
- Don’t Rush: Allow for drying times and take your time with details—patience is key!
These tips will not only improve the quality of your coasters but also add to the overall enjoyment of the process.
How Do You Care for Your Wooden Coasters?
Caring for your coasters is an essential part of how to make wooden coasters functional.
- Regular Cleaning: Wipe coasters down with a damp cloth after use to ensure moisture doesn’t warp the wood.
- Avoid Soaking: Never wash your wooden coasters in water; they can warp and crack.
- Reapply Finish as Needed: Over time, the finish may wear off. Reapply every few months to maintain the protective layer.
- Store Properly: Keep coasters in a cool, dry place when not in use, away from direct sunlight.
Taking these care steps can extend the life of your beautiful creations significantly.
Final Thoughts
Congratulations on exploring the fun and creative realm of how to make wooden coasters!
With just a few materials and some creativity, you can craft coasters that reflect your individual style.
Remember to enjoy the process—making coasters should be a fun and satisfying endeavor.
As always, feel free to experiment with different designs and techniques as you become more confident in your woodworking skills.
Whether you’re making these coasters for your home, as thoughtful gifts, or even for sale, they are sure to be a hit.
So go ahead, start crafting your wooden coasters, and let your creativity shine!