Are you eager to learn how to make wooden plant stands?
This guide will walk you through various DIY plant stand projects that you can create with basic tools.
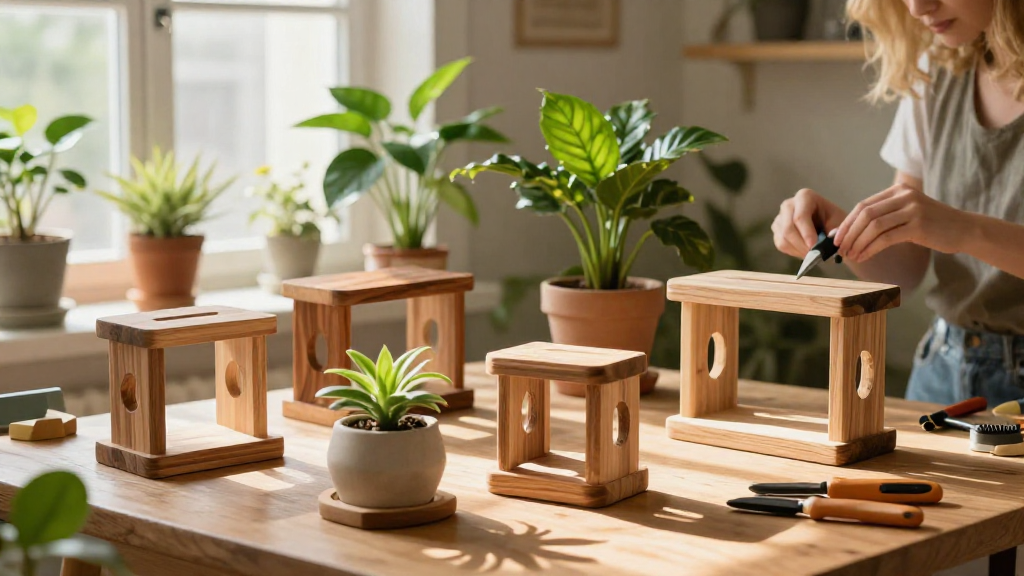
Creating your own plant stands not only enhances the beauty of your home but also allows you to display your beloved plants in style.
Ready to get started? Let’s jump into some fun and creative ways to build your very own wooden plant stands!
What Materials Do You Need to Make Wooden Plant Stands?
Before diving into the exciting designs, let’s gather the necessary materials for your DIY project.
Here’s a simple list of what you’ll need:
- Wood: Pine, cedar, or plywood are great options.
- Screws: Use wood screws for a secure hold.
- Wood glue: For added strength at the joints.
- Sandpaper: To smooth the edges of your wood pieces.
- Paint or wood stain: Optional, for finishing touches.
- Basic tools:
- Saw (hand saw or power saw)
- Drill
- Screwdriver
- Tape measure
- Safety goggles
Having these materials on hand will make the process easier as you learn how to make wooden plant stands.
Which Design Should You Choose for Your Plant Stand?
Plant stands come in various styles.
Here are three popular designs you might consider:
-
Simple Stool Plant Stand
– A straightforward and functional design.
– Ideal for beginners. -
Tiered Plant Stand
– Multiple levels to showcase various plant sizes.
– Perfect for maximizing display space. -
Corner Plant Stand
– Designed specifically to fit snugly in corners.
– Great for small spaces.
How Do You Build a Simple Wooden Plant Stand?
For beginners, the Simple Stool Plant Stand is a fantastic project to start with.
Step-by-Step Instructions
1. Measure and Cut the Wood:
- Measure and cut one square plank for the top (about 2 ft x 2 ft).
- Cut four legs at around 3 feet in length.
2. Assemble the Stand:
- Attach each leg to the corners of the top plank using screws.
- For a more secure bond, apply wood glue at the joining points before screwing.
3. Sand the Edges:
- Use sandpaper to smooth the edges of the wood to prevent splinters.
4. Finish Your Plant Stand:
- Choose to paint or stain your plant stand to match your décor.
- Allow it to dry completely before placing plants on it.
And there you go! You’ve just learned how to make wooden plant stands with ease.
What About a Tiered Plant Stand?
If you’re curious about creating a more extensive display, the Tiered Plant Stand is the way to go.
Step-by-Step Instructions
1. Materials Needed:
- Three square wood planks (sizes can vary, e.g., 2 ft x 2 ft, 18 in x 18 in, 12 in x 12 in)
- Four long wooden supports (e.g., 4 ft each)
2. Measure and Cut the Wood:
- Cut the planks if they aren’t pre-cut.
- Ensure the top shelf is the largest, and the bottom shelf is the smallest.
3. Assemble the Shelves:
- Take the long supports and cut them into two equal parts.
- Position the first shelf about 1.5 ft from the bottom on the vertical supports.
- Attach the second shelf higher up and the smallest on top.
4. Sand and Finish:
- Sand each shelf until smooth.
- Paint or stain to your preference.
Creating a tiered plant stand allows for more plants and adds visual interest to any room!
How Can You Create a Corner Plant Stand?
If your living area has tight corners, the Corner Plant Stand is your best bet.
Step-by-Step Instructions
1. Gather Your Materials:
- Two triangular wood pieces for the top (or cut squares at a 45-degree angle).
- Four legs for support, properly measured.
2. Measure and Cut:
- Cut the triangular pieces to ensure they fit together snugly.
- Always measure twice before cutting!
3. Assemble the Stand:
- Screw the legs into each corner of the triangular top piece.
- Reinforce with wood glue for stability.
4. Sand and Customize:
- Smooth out all edges.
- Consider adding a decorative touch with paint or stain.
Now, you’ve mastered another design of how to make wooden plant stands that not only save space but also showcase your greenery beautifully!
How Can You Personalize Your Plant Stands?
Once you’ve built your wooden plant stands, it’s time for some personalization!
Here are some ideas to add a touch of uniqueness:
- Paint Patterns: Use painter’s tape to create geometric designs.
- Add Labels: Personalize the pots with labels for each plant type.
- Enhance with Decor: Attach small hooks for hanging small planters or decorative items.
Where Can You Place Your New Plant Stands?
After finishing your DIY project, think about the possible placements in your home:
- Living Room: Brighten up corners or empty spaces.
- Kitchen: Utilize windowsills for a rustic touch.
- Bedroom: Create a serene plant corner next to your reading chair.
With these tips, you can make your plant stands functional and integrate them seamlessly into your home décor.
What Are the Benefits of Making Your Own Plant Stands?
There are countless advantages when it comes to creating your plant stands:
- Cost-Effective: Building your own is often cheaper than buying from stores.
- Customized Size and Style: Tailor everything to your specific needs.
- Satisfaction: The joy of creating something with your own hands is unmatched.
In conclusion, now you know how to make wooden plant stands that perfectly fit your preference and space.
By using basic tools, you can create stunning displays for your plants while also showcasing your creativity.
Why not get started on your DIY adventure today? Your plants will thank you for it!