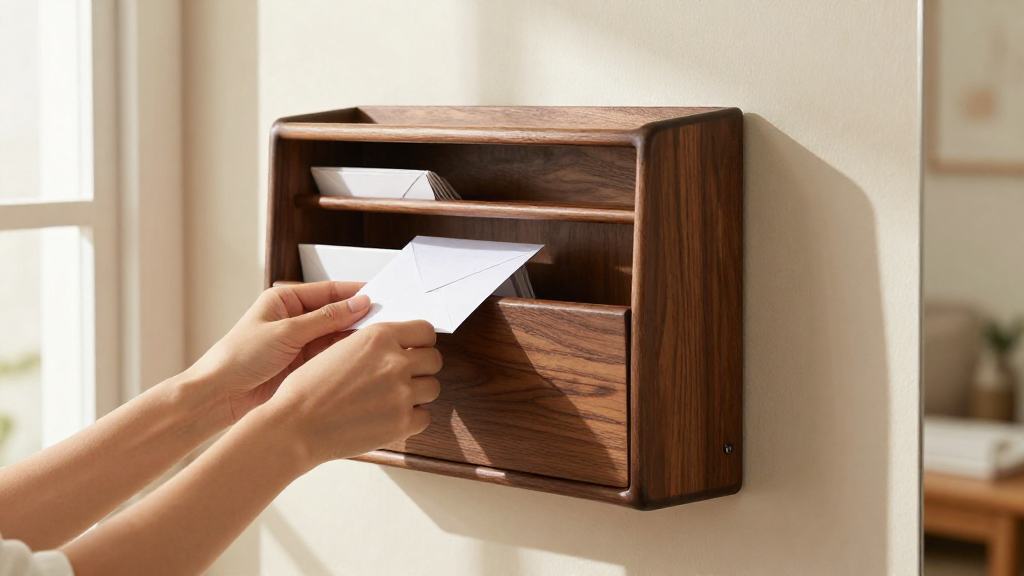
Are you looking for a simple yet effective way to declutter your entryway? Learning how to make a wooden mail organizer can not only help you stay organized but also enhance your home’s aesthetic.
What Materials Do You Need?
Before diving into the project of creating your wall-mounted mail organizer, it’s essential to gather your materials. Here’s what you’ll need:
- Wood: Choose a sturdy type like pine or oak.
- Wood Glue: For a strong bond between pieces.
- Screws or Nails: For added strength and stability.
- Sandpaper: To smooth the edges of your wood.
- Paint or Stain: To finish the wood and match your home decor.
- Drill: To make holes for screws or nails.
- Ruler: To measure your wood pieces accurately.
- Pencil: For marking your measurements.
By collecting these materials beforehand, you’ll save time and ensure a smoother building process when figuring out how to make a wooden mail organizer.
How Do You Design the Organizer?
After gathering materials, it’s time to design your wall-mounted mail organizer.
Here are some design considerations to keep in mind:
- Space: Measure the wall space where you intend to mount the organizer.
- Style: Choose a style that complements your home—rustic, modern, or vintage.
- Function: Decide on features, like slots for mail, hooks for keys, or shelves for other items.
Certain designs, like a slatted organizer, add an artistic touch while ensuring functionality. Whatever design you choose, be sure it meets your needs and fits well within your decor.
How Do You Cut the Wood?
Cutting the wood might seem daunting, especially if you’re new to DIY projects, but with the right tools and precautions, it can be straightforward.
Follow these steps:
- Measure twice, cut once: Use your ruler and pencil to mark where you’ll cut.
- Cut with precision: Use a circular saw or handsaw to cut your wood according to your design.
- Smooth the edges: Sand the edges after cutting to ensure safety and a polished look.
This step is crucial in the process of how to make a wooden mail organizer, as the better the cuts, the more professional your piece will look.
How Do You Assemble the Organizer?
Now that you have all your pieces cut and smoothed, it’s time to assemble your wall-mounted mail organizer.
- Lay Out Your Design: Arrange the pieces as you’d like them to appear when assembled.
- Start with the Base: Use wood glue and/or screws to secure the base piece to your wall.
- Add Side Panels: Attach the side panels at a perpendicular angle to the base using screws for added stability.
- Secure Mail Slots: Install whatever dividers or mail slots you’ve designed. Make sure they are spaced evenly and secured well.
- Hooks and Shelves: If you included hooks or shelves, now is the time to attach them as well.
A well-assembled organizer will not only look fantastic but will also function effectively for your storage needs.
How Do You Finish the Wooden Mail Organizer?
To make your wooden mail organizer visually appealing, finishing touches are essential.
Here’s how to do it:
- Choose Your Finish: Decide if you want to paint or stain your organizer.
- Apply Evenly: Use a paintbrush or cloth to apply your chosen finish evenly across the entire surface.
- Allow Drying Time: Ensure that you give ample time for the finish to dry completely before mounting the organizer.
A good finish enhances the durability of the wood while also making it attractive, which is key in learning how to make a wooden mail organizer that you’ll be proud to display.
Where Should You Mount the Organizer?
Placement is crucial for functionality.
Here are some ideal spots to mount your wall-mounted mail organizer:
- By the Front Door: This makes dropping off mail as you enter the home easier.
- In the Kitchen: A common gathering zone that may need organization.
- Home Office or Study: Creating a dedicated space for business correspondence.
Ensure the location is accessible and fits your lifestyle for maximum convenience.
How Do You Personalize Your Organizer?
Once you have your mail organizer completed, it’s time to make it uniquely yours.
Consider these personalized options:
- Stenciling or Hand-Painting: Artistic flair can add character.
- DIY Signs: A small painted label can help designate each slot’s purpose.
- Decorative Accents: You can add hooks for keys, small indoor plants, or photos for added personality.
Personalization is essential in creating a wooden mail organizer that reflects your taste and meets your daily needs.
How Do You Maintain the Wooden Mail Organizer?
To keep your wooden mail organizer looking fresh and functioning well, maintenance is key.
Follow these simple maintenance tips:
- Regular Cleaning: Wipe down regularly to remove dust and debris.
- Check for Damages: Routinely inspect your organizer for loose screws or damages.
- Reapply Finish When Needed: Depending on wear and tear, consider reapplying paint or stain to maintain its beauty.
Proper maintenance will extend the life of your mail organizer, making it a lasting component of your home.
Conclusion
Learning how to make a wooden mail organizer is a rewarding project that not only aids in home organization but also showcases your DIY skills.
By carefully designing, assembling, and finishing your piece, you can ensure that it serves your functional needs while adding character to your space.
Now that you have the knowledge, gather your materials and begin crafting your very own wall-mounted mail organizer! Embrace the joy of organizing with a touch of handmade charm.