Are you interested in building a wine cabinet with glass doors that will not only store your favorite bottles but also add a touch of elegance to your home?
In this article, we’ll guide you through the process step-by-step.
What Materials Do You Need for Building a Wine Cabinet?
Before embarking on your journey of building a wine cabinet, it’s vital to gather all the necessary materials and tools.
Here’s a comprehensive list:
Materials:
- Plywood or hardwood: For the cabinet structure
- Glass doors: Optional, but recommended for a sleek look
- Wood screws: To secure everything
- Wood glue: For added stability
- Stain or paint: To finish the cabinet
- Sealant: To protect the wood from moisture
Tools:
- Circular saw: For cutting wood
- Drill: For making holes and driving screws
- Measuring tape: To ensure precise measurements
- Level: To ensure your cabinet is straight
- Sander: For a smooth finish
How Do You Plan the Design for Your Wine Cabinet?
Planning is crucial when it comes to building a wine cabinet.
Consider the following aspects:
-
Size:
– Determine how many bottles you plan to store.
– Measure the space where you intend to place the cabinet. -
Style:
– Decide on a modern or rustic aesthetics.
– Choose between open shelves or a closed cabinet with glass doors. -
Functionality:
– Will it have added features like a built-in cooler or wine rack?
– Consider adding shelving for wine glasses.
Creating a simple sketch can help visualize your design.
What are the Steps to Start Building a Wine Cabinet?
Now that you have your materials and plan ready, it’s time to dive into the steps for building a wine cabinet.
Step 1: Measure and Cut the Wood
- Use your measuring tape to outline the dimensions of your cabinet.
- Cut the plywood or hardwood according to your measurements.
Tip: Be precise with your cuts to ensure all pieces fit together seamlessly.
Step 2: Assemble the Cabinet Frame
- Begin by assembling the back panel and side panels using wood screws and wood glue.
- Attach the bottom shelf, ensuring it is level with the floor.
Step 3: Install Shelving
- Depending on your design, reserve space for several shelves.
- Install them at your desired heights to accommodate various bottle sizes.
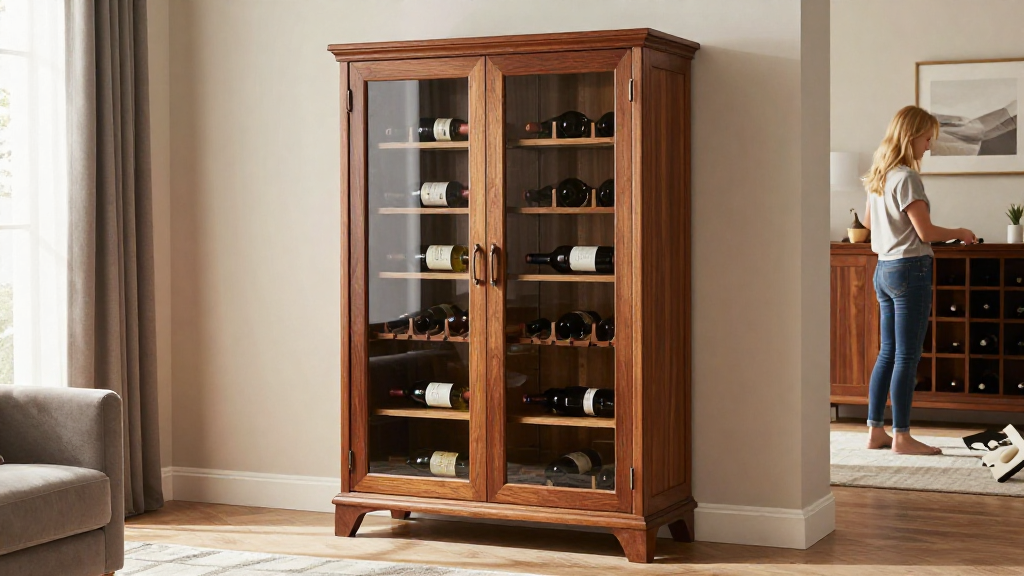
Step 4: Attach the Glass Doors
- While building a wine cabinet, glass doors can elevate its elegance.
- Use a door hinge to attach the glass doors to the cabinet frame.
Tip: Ensure the doors open smoothly and do not interfere with the shelves.
Step 5: Sand and Finish the Wood
- Take time to sand all surfaces to achieve a smooth finish.
- Apply your chosen stain or paint for a polished look.
Step 6: Apply Sealant
- Once the paint or stain has dried, apply a sealant to protect the wood against moisture.
Tip: This is especially important for wine cabinets as they can face humidity in kitchens or dining areas.
Step 7: Organize Your Wine Bottles
- Arrange your wine bottles on the shelves according to your preference.
- Consider arranging them by type, color, or region for easy access.
What Are Some Tips for Maintaining Your Wine Cabinet?
Once you’ve successfully completed building a wine cabinet, keeping it in top condition is essential.
Here are some maintenance tips:
-
Regular Cleaning:
– Dust the cabinet regularly to prevent buildup.
– Wipe down the glass doors for a clear view of your collection. -
Temperature Control:
– Ensure the wine cabinet is placed in a temperature-stable area.
– Avoid direct sunlight or places with high humidity. -
Organize Your Wine:
– Regularly check your inventory and consume older bottles first.
– Maintain organization for effortless access. -
Inspect for Damage:
– Periodically check the joints and shelves for any signs of wear.
– Fix any issues immediately to avoid larger repairs later.
Where Can You Place Your Wine Cabinet?
Location is key when building a wine cabinet.
Consider these areas in your home:
- Dining room: A natural place for a wine cabinet, allowing easy access during meals.
- Kitchen: If space permits, storing wine near your cooking area can be convenient.
- Living room: For entertaining guests, a strategically placed wine cabinet can enhance the ambiance.
Tip: Ensure the location has a controlled temperature to keep your wine in optimal condition.
Why Should You Consider Building a Wine Cabinet?
Building a wine cabinet offers numerous advantages, including:
- Customization: Tailor your cabinet to meet your specific storage needs.
- Cost Savings: Create a unique piece of furniture without the hefty price tag of buying new.
- Increased Home Value: A well-crafted wine cabinet can add aesthetic and functional value to your home.
Conclusion: Ready to Start Building Your Wine Cabinet?
Now that you have a detailed guide on building a wine cabinet with glass doors, it’s time to roll up your sleeves and get started!
With the right materials, careful planning, and a little bit of effort, you can create a beautiful and functional piece that serves as a focal point in your home.
Remember to enjoy the process and celebrate your craftsmanship when you complete your new wine cabinet! Happy building!