If you’re a woodworker, learning how to organize wood scraps can make a significant difference in your workspace efficiency.
Not only does an organized workshop create a more pleasant environment, but it also helps you maximize the utility of your wood scraps. Below, we’ll explore innovative strategies for managing your leftover wood pieces efficiently, ensuring that you can easily find what you need while being mindful of space and resources.
Why is it Important to Organize Wood Scraps?
Keeping your wood scraps organized is essential for several reasons:
- Efficient Use: Finding the right piece of wood becomes easier.
- Time-Saving: You can spend less time searching and more time crafting.
- Safety: A clutter-free workshop enhances safety for you and others.
- Waste Reduction: Utilizing scraps can reduce overall waste, contributing to eco-friendly practices.
In this guide, we’ll discuss practical methods on how to organize wood scraps effectively.
What Types of Wood Scraps Do You Have?
Categorizing your wood scraps is a great first step in the organization process.
Identify the types of wood you possess. Common categories include:
- Hardwood Scraps: Pieces from oak, maple, cherry, etc.
- Softwood Scraps: Such as pine, spruce, or cedar.
- Plywood Offcuts: Leftover sheets or pieces of plywood.
- MDF and Particle Board: Often used for furniture and cabinetry.
Once you’ve categorized the scraps, the next step is to determine suitable storage solutions.
How Can You Store Wood Scraps?
After categorizing your wood scraps, consider the following smart storage solutions to maintain organization:
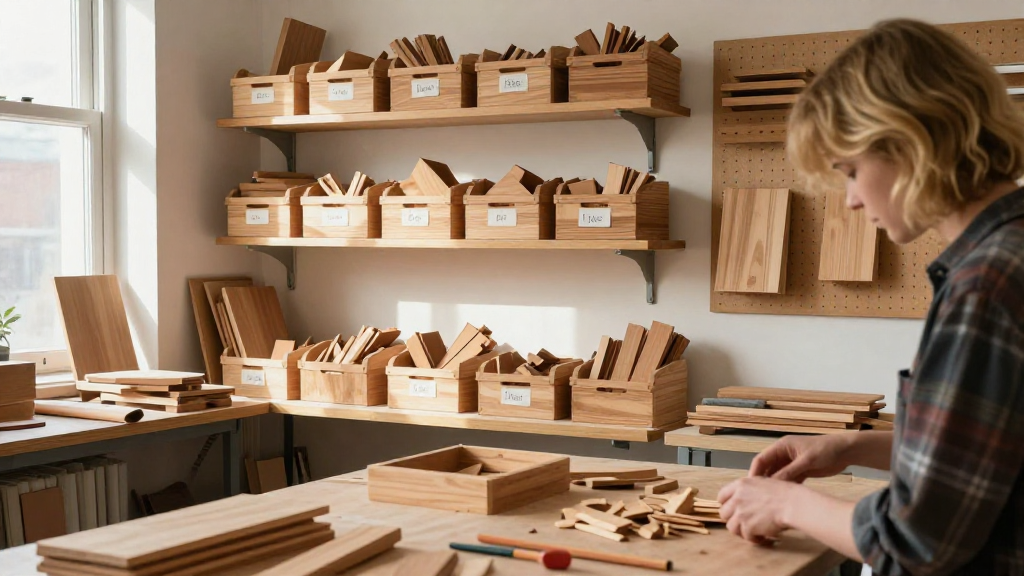
1. Use Storage Bins
Invest in clear, labeled storage bins.
- Benefits:
- Keeps your area tidy.
- Allows easy visibility of contents.
Tip: Use different bins for various wood types or lengths, ensuring a quick pull-out process when needed.
2. Install Shelving Units
Shelving allows for easy access to larger wood pieces:
- Positioning:
- Install on walls to free up floor space.
- Ensure they are adequately secured to bear the weight of your wood.
Consider adjustable shelves that can be modified as your collection grows.
3. Create a Vertical Scrap Rack
Optimizing vertical space is vital in smaller workshops:
- Build or buy a vertical rack to store longer pieces of wood upright.
- Benefits:
- Reduces floor clutter.
- Provides a clear overview of available lengths.
4. Repurpose Old Furniture
Get creative with old furniture that might be taking up space:
- Use Dressers or Cabinets:
- Drawers can store shorter scraps vertically.
- Ensure you label the drawers for easy identification.
This method combines recycling with effective storage solutions.
How to Organize Wood Scraps by Size?
Once you have chosen your storage solution, organizing by size can enhance your workflow:
1. Short Pieces (Less than 1 foot)
- Store in labeled bins or drawers for quick access.
- Keep them sorted by width or thickness for efficient retrieval.
2. Medium Pieces (1 to 3 feet)
- Place these on lower shelves for easy reach.
- Separate by genre: hardwood, softwood, plywood, etc.
3. Long Pieces (Over 3 feet)
- Utilize vertical racks or wall-mounted storage.
- Always secure longer pieces to prevent them from falling.
What Tools Can Help You Stay Organized?
There are several tools and accessories that can help you stay on track when learning how to organize wood scraps:
1. Labels
- Use a labeling system to clearly mark bins, drawers, and racks.
- This helps you and anyone else in your workshop find scraps with ease.
2. Pegboards
- Install pegboards to hang tools and small pieces of wood.
- This way, you can efficiently use wall space while keeping your most-used tools visible.
3. Wood Scrap Containers
Buy or create specific containers for small pieces:
- Use caddies or small bins to keep these pieces organized.
- Keep a “bits bin” that’s dedicated solely to tiny offcuts that might otherwise clutter your space.
How Can You Repurpose Wood Scraps?
In addition to storing and organizing, think about ways to upcycle your wood scraps:
-
Create Projects:
– Use smaller pieces for craft projects, birdhouses, or picture frames. -
Prepared Kits:
– Set aside certain pieces for quick future projects or children’s crafts. -
Donation:
– Consider donating extra wood scraps to local schools or community centers for educational projects. -
Selling:
– If you have considerable scrap, consider selling to local woodworkers or at crafts fairs.
Conclusion: Why Should You Start Organizing Today?
Learning how to organize wood scraps is not just about tidiness; it’s about efficiency, safety, and respect for resources.
Investing a little time into creating an organized system will pay dividends in the long run.
Start with categorizing your current scraps and implement the listed storage solutions.
Remember: An organized workspace not only enhances productivity but also makes woodworking more enjoyable.
By embracing these strategies today, you can create a clutter-free environment that allows your creativity to flow effortlessly. Happy woodworking!