If you’re wondering how to use Danish oil to achieve a beautiful, smooth finish on your wood projects, you’re in the right place. Danish oil is a popular choice among woodworkers and DIY enthusiasts because of its ease of application and stunning results. This article will guide you through the process, step by step, to ensure your wood surfaces look their best.
What is Danish Oil?
Danish oil is a blend of oil and varnish that penetrates the wood, enhancing its natural grain while providing protection.
It typically contains:
- Linseed oil or tung oil for penetration
- Varnish that adds durability
- Solvents for easier application
This combination makes Danish oil perfect for various wood types, including hardwoods and softwoods.
Why Use Danish Oil?
Using Danish oil has several benefits:
- Enhances Grain: It highlights the wood’s natural patterns.
- Easy Application: It can be applied easily with a rag or brush.
- Durable Finish: It offers good protection against moisture and wear.
- Versatility: Great for furniture, cabinetry, and wooden crafts.
Knowing how to use Danish oil correctly can help you achieve these benefits and more!
How Should You Prepare Wood Before Applying Danish Oil?
Proper preparation is crucial for a successful finish.
Steps to Prepare Wood:
-
Sand the Surface:
– Start with coarser sandpaper (80-120 grit) and progressively move to finer sandpaper (220 grit).
– Sand in the direction of the grain to avoid scratches. -
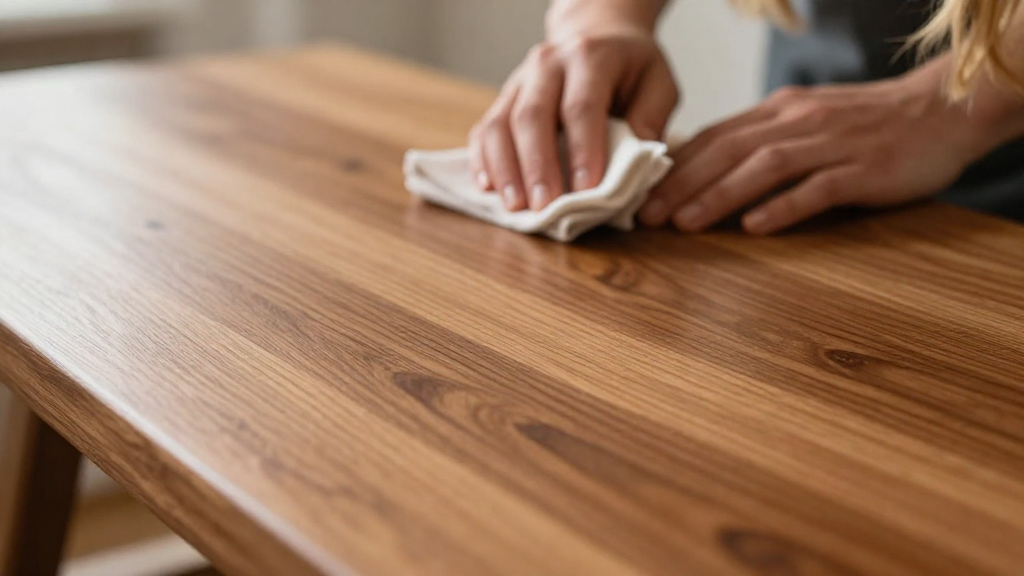
Clean the Wood:
– Wipe the surface with a damp cloth to remove dust and debris.
– Allow it to dry completely. -
Check for Imperfections:
– Fill any cracks or holes with wood filler, if necessary.
– Sand those areas smoothly once the filler is dry.
Following these steps will ensure that you have a clean, smooth surface for applying the Danish oil.
How to Apply Danish Oil?
Knowing how to use Danish oil is simple and straightforward. Here are the steps to follow for a perfect finish:
Materials You Will Need:
- Danish oil
- Clean cloth or brush
- Sandpaper (various grits)
- A lint-free rag
- A clean, dry working space
Step-by-Step Application:
-
Choose the Right Environment:
– Ensure you’re working in a well-ventilated area.
– Avoid direct sunlight, as it can cause the oil to dry too quickly. -
Shake the Danish Oil:
– Stir or shake the can gently to mix the contents.
– This ensures an even consistency. -
First Coat Application:
– Using a clean cloth or brush, apply a generous coat of Danish oil.
– Work it into the wood, following the grain pattern. -
Let It Soak:
– Allow the oil to penetrate the wood for about 15-30 minutes, ensuring even coverage.
– Do not let it puddle on the surface. -
Wipe Off Excess:
– After soaking, use a clean, lint-free rag to wipe off any excess oil.
– This step is crucial for preventing a sticky or tacky finish. -
Cure Time:
– Let the first coat cure for 4-6 hours or until dry to the touch.
– Ensure you’re in a dust-free environment during this time. -
Sanding Between Coats:
– Lightly sand the surface with fine grit (400-grit) sandpaper once the first coat dries.
– This helps to create a smoother finish and aids in adhesion. -
Second Coat Application:
– Repeat steps 3 to 6 for additional coats.
– Typically, 2-3 coats are recommended for optimal results. -
Final Cure:
– After the final coat, allow the wood to cure for 24-48 hours before use.
– This ensures the finish is hard and durable.
How Can You Maintain Danish-Oiled Surfaces?
To keep your Danish-oiled projects looking their best, routine maintenance is essential.
Maintenance Tips:
- Regular Dusting: Use a soft cloth to remove dust regularly, preventing buildup.
- Avoid Water Exposure: Keep surfaces away from excess moisture to prolong the finish.
- Reapply Oil: Depending on usage, you may need to reapply Danish oil every 1-2 years to rejuvenate the finish.
What Other Tips Should You Consider While Using Danish Oil?
Mastering how to use Danish oil effectively involves not just application but also understanding some handy tips:
- Testing First: Always test on a scrap piece of wood to see how the oil affects the color and finish.
- Preventing Runs: Apply in thin layers to avoid drips and runs.
- Use Gloves: Protect your hands during application as Danish oil can irritate the skin.
What Are Common Misconceptions About Danish Oil?
Many woodworkers have misunderstandings about Danish oil. Here are two common myths:
-
Myth: Danish oil is just for unfinished wood.
– Reality: It can be used over previous finishes, although proper preparation is necessary. -
Myth: The more coats, the better.
– Reality: Too many coats can lead to a sticky finish. Adhering to 2-3 coats is usually ideal.
Conclusion: Ready to Use Danish Oil?
Now that you know how to use Danish oil for a smooth wood finish, you’re well-equipped to elevate your woodworking projects.
Follow the step-by-step guide, keep the maintenance tips in mind, and apply some of the knowledge from the misconceptions to enhance the beauty and durability of your wood surfaces.
Whether you’re finishing a piece of furniture, crafting a decorative item, or restoring an old piece, Danish oil will help you achieve that professional-quality finish you desire.
So, gather your materials, prepare your surface, and enjoy the rewarding experience of using Danish oil!