If you are looking to enhance the structural integrity of your woodworking projects, understanding how to make spline joints is essential.
This technique creates robust corner joints that ensure your pieces stay together for years to come. Let’s explore the art and science of spline joints, including what they are, why you should use them, and, most importantly, how to create them correctly.
What Are Spline Joints?
Spline joints are a type of woodworking joint used to connect two pieces of wood at an angle, typically at 90 degrees.
This technique involves inserting a thin strip of wood—called a “spline”—into a groove cut into both pieces, creating a larger surface area for adhesion and increasing the strength of the joint.
Benefits of Using Spline Joints:
- Increased Strength: The added surface area provided by the spline contributes to a stronger bond.
- Alignment: Spline joints help align the wood pieces perfectly, reducing gaps.
- Visual Appeal: Spline joints can add a decorative touch, making them ideal for visible joints in furniture.
How Can You Prepare Your Materials?
Before diving into how to make spline joints, you’ll need to gather your materials and tools. Here’s what you’ll need:
Materials:
- Wood Pieces: The two pieces you want to join.
- Spline Material: A strip of wood, usually the same species as the main pieces (e.g., plywood or hardwood).
- Glue: Wood glue or PVA glue for strong adhesion.
Tools:
- Table Saw: For cutting grooves and splines.
- Router: Optional, but great for cutting precise grooves.
- Clamps: To hold everything in place during the drying process.
- Measuring Tape: To ensure accurate measurements.
- Square: To ensure perfect right angles.
How to Make Spline Joints Step-by-Step?
Now that you’re equipped with materials and tools, let’s delve into the detailed process of how to make spline joints.
Step 1: Measure and Mark Your Wood
- Measure the width of both pieces of wood that you plan to join.
- Mark where the grooves will go. Typically, you would mark both ends of each piece to define the area for the spline groove.
Step 2: Cut the Grooves
Using a Table Saw:
- Set the table saw blade height to match the desired depth of the grooves.
- Use a push stick for safety and guide the pieces through the saw.
- Cut grooves along the marked lines, ensuring they are straight and uniform.
Using a Router:
- Set up the router with a straight-cut bit that matches the spline thickness.
- Route the grooves carefully, following your marks, to achieve smooth edges.
Step 3: Prepare the Spline
- Cut the spline to the appropriate thickness and length. It should fit snugly into the grooves cut into your wood pieces.
- Ensure the spline is slightly shorter than the combined length of both grooves to avoid any compression issues when glued.
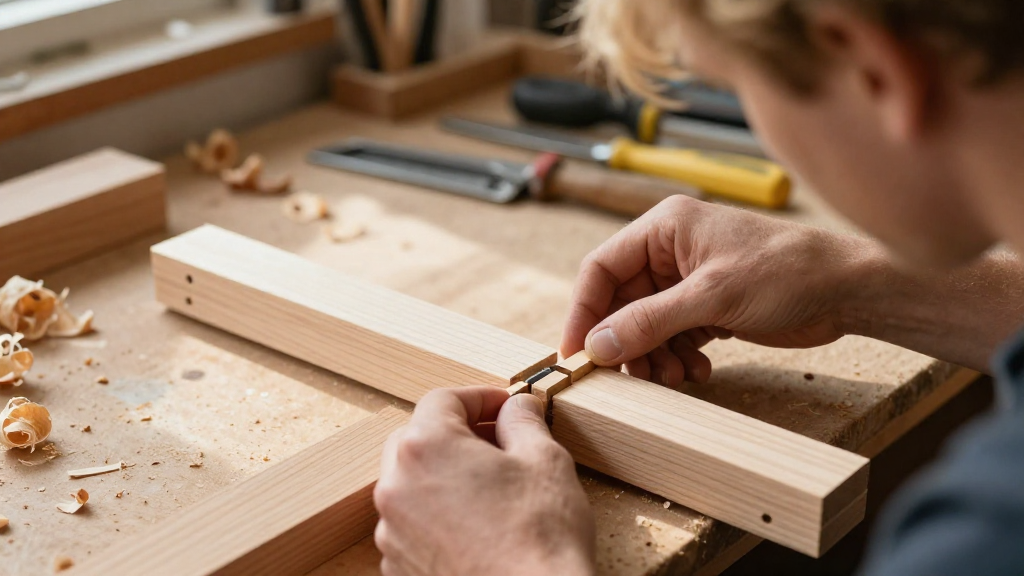
Step 4: Test Fit the Joint
- Before applying glue, test fit the joint by inserting the spline into the grooves.
- Adjust as necessary to ensure a snug fit that allows for easy insertion but still holds securely.
Step 5: Apply Glue
- Apply a generous amount of wood glue into both grooves and on the spline.
- Make sure to cover all surfaces contacting the glue for a strong bond.
Step 6: Assemble and Clamp
- Carefully insert the spline into the grooves of the two pieces.
- Align the pieces to ensure they form a perfect right angle.
- Use clamps to hold the joint tightly together while the glue cures.
Step 7: Clean Up Excess Glue
- Wipe away any excess glue that squeezes out during the clamping process.
- It’s easier to clean it up now than after it fully dries.
Step 8: Let It Cure
- Allow the glue to cure based on the manufacturer’s instructions. This usually ranges between 30 minutes to a few hours.
How Do You Finish the Spline Joint?
After the glue has cured, there are a few finishing steps you can take:
- Sand the Joint: Use sandpaper to smooth any rough edges and to achieve a flush finish between the wood pieces.
- Stain or Paint: Apply any desired finish, matching the color to the rest of your project.
Using these finishing techniques will enhance both the appearance and durability of your spline joints.
Are There Other Methods for Making Spline Joints?
Yes, while the above method is common, you may encounter variations depending on your project and tools available. Some alternative methods include:
- Using Dowel Joints: Instead of a spline, use dowels for added strength in some projects.
- Miter Joints with Spline: Spline joints can also be used in mitered corners, often used in picture frames.
- using Biscuit Joiners: For quick and reliable joinery, consider using a biscuit joiner instead of mixing a spline.
When Should You Use Spline Joints?
Spline joints are particularly useful in the following scenarios:
- Frame Construction: When creating frames for doors or pictures.
- Furniture Assembly: For stronger joints in tables, cabinets, and bookshelves.
- Decorative Pieces: When aesthetics matter, as spline joints can be invisible or highlighted for visual interest.
Conclusion
Now that you know how to make spline joints, you can enhance the strength of your woodworking projects and improve their durability.
Spline joints offer an effective solution for achieving sturdy, aligned, and visually appealing connections.
The next time you’re at your workbench, consider using this method for your next woodworking project.
Happy woodworking!
By following these guidelines on how to make spline joints, you can achieve professional-quality results in your woodworking endeavors while ensuring your pieces stand the test of time.