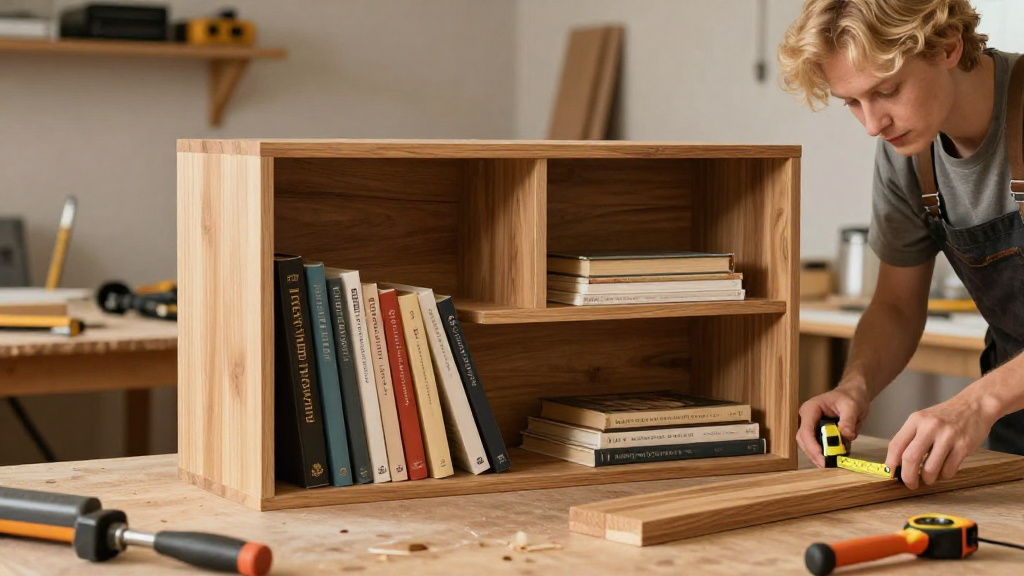
Are you looking for DIY bookshelf plans that are both functional and aesthetically pleasing?
Creating your own bookshelf can be a fulfilling project.
In this article, we will guide you through a set of DIY bookshelf plans with a detailed cut list and step-by-step instructions.
Let’s dive into how you can create a stylish and sturdy bookshelf that reflects your personal style!
What Materials Do I Need for DIY Bookshelf Plans?
Before embarking on your DIY bookshelf project, it’s essential to gather the necessary materials. Below is a comprehensive list of everything you’ll need:
Materials:
- 1″ x 12″ board: (for shelves)
- 1″ x 3″ board: (for the frame)
- Wood screws: (1.25″ or 1.5″)
- Wood glue
- Sandpaper: (various grits)
- Wood finish or paint (optional)
- Wood sealer (optional)
- Brackets (if needed for additional support)
Tools:
- Circular saw or miter saw
- Drill with drill bits
- Measuring tape
- Level
- Clamps
- Safety goggles
- Workbench or sawhorses
How Do I Cut the Wood for My DIY Bookshelf?
The first step in following your DIY bookshelf plans is to cut your wood to the correct dimensions. Here’s a basic cut list for a simple bookshelf:
Cut List:
- Shelves:
-
(4 pieces) 36″ long x 12″ deep (adjust based on your preference)
-
Side Panels:
-
(2 pieces) 72″ long x 12″ deep
-
Top and Bottom Panels:
-
(2 pieces) 36″ long x 12″ deep
-
Back Panel:
- (1 piece) 72″ long x 36″ wide (adjustable based on your height and width)
How Do I Assemble My DIY Bookshelf?
Once you’ve cut your boards according to the cut list, you’re ready to build!
Here are the steps to assemble your DIY bookshelf:
Assembly Instructions:
- Prep Your Materials:
Begin by sanding down all edges of the boards.
This will create a smooth finish and reduce splinters.
-
Attach the Side Panels:
Using wood screws and wood glue, secure the top and bottom panels between the side panels, ensuring everything is level. -
Install the Shelves:
Decide how many shelves you want and their placement.
Drill pocket holes (or use shelf brackets) to support the shelves.
Secure the shelves in place along the side panels.
- Add the Back Panel:
Attach the back panel using wood screws.
This will add stability to your bookshelf.
- Final Touches:
After assembly, inspect all joints for stability.
If needed, reinforce with additional screws.
How Do I Finish My DIY Bookshelf?
Finishing your DIY bookshelf can significantly enhance its appearance.
Here are some finishing options you might consider:
Finishing Techniques:
-
Stain:
Apply a wood stain to highlight the natural grain of the wood. -
Paint:
For a pop of color, use a quality paint suitable for furniture. -
Sealer:
Protect your finish with a wood sealer or polyurethane for durability.
How Do I Customize My DIY Bookshelf?
One of the benefits of using DIY bookshelf plans is the opportunity to customize according to your style and needs.
Consider these personalization ideas:
Customization Ideas:
-
Size Adjustments:
Modify the height and width based on your space. -
Design Elements:
Add decorative molding to the top or incorporate unique cutouts in the side panels. -
Color:
Experiment with colors that match your home decor for a cohesive look. -
Lighting:
Integrate LED strips along the shelves for added illumination.
Where Can I Place My DIY Bookshelf?
The placement of your DIY bookshelf is crucial for both functionality and decor.
Here are some popular spots to consider:
Placement Ideas:
-
Living Room:
A standard choice, great for showcasing books and decor. -
Home Office:
Perfect for organizing work-related materials and books. -
Kids’ Room:
A colorful bookshelf can inspire reading and organization. -
Entryway:
Use it for shoes, bags, and storage bins—keeping the area tidy.
How to Maintain Your DIY Bookshelf?
Once your DIY bookshelf is built and placed, maintaining it is key to longevity.
Maintenance Tips:
-
Dust Regularly:
Use a microfiber cloth to avoid dust buildup. -
Avoid Direct Sunlight:
Prevent fading or warping by placing it away from direct light. -
Check Stability:
Periodically check if screws are tight and shelves are level.
Conclusion: Why Choose DIY Bookshelf Plans?
Creating a bookshelf using DIY bookshelf plans is not just about storage.
It is a way to personalize your space.
By following this comprehensive guide, you can build a beautiful, fully functional bookshelf that fits your requirements.
With the right materials and tools, as well as a little creativity, you can create a masterpiece that’s both practical and attractive.
So gather your materials and get started on your DIY bookshelf today!
By following this structured plan, you’re equipped to dive into your DIY bookshelf project. Happy building!