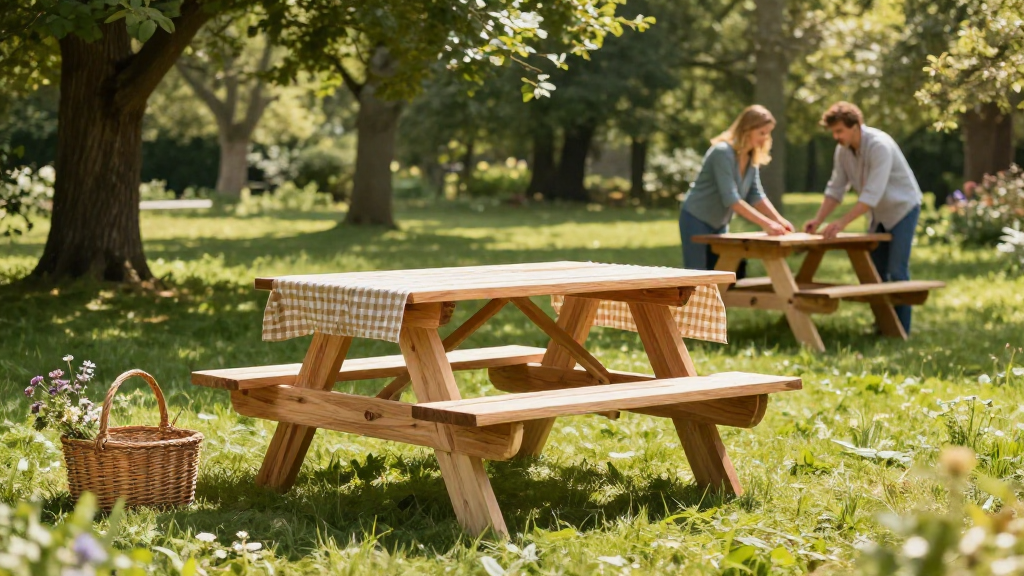
Are you ready to enjoy the great outdoors with friends and family?
Creating your very own picnic table is a perfect way to enhance your backyard experience.
In this comprehensive guide, we will explore detailed picnic table woodworking plans that anyone, from beginners to seasoned woodworkers, can follow to build their own picnic table.
What Materials Do You Need for Your Picnic Table?
Building a picnic table requires specific materials for stability and durability. Here’s a list of what you’ll need:
- Lumber
- 2x4s and 2x6s for the tabletop, benches, and frame
- 4x4s for the legs and support
- Wood Screws
- 3-inch screws for the primary joints
- Wood Glue
- For added stability
- Sandpaper
- For smoothing rough edges
- Wood Finish or Sealant
- To protect against the elements
What Tools Are Essential for Building a Picnic Table?
To successfully execute your picnic table woodworking plans, you will need the following tools:
- Saw
- Circular saw or miter saw (for precise cuts)
- Drill
- With drill bits for pilot holes
- Tape Measure
- Ensuring accuracy in dimensions
- Clamps
- Holding pieces together while assembling
- Square
- For perfect right angles
- Level
- To ensure your table is even
How Do You Start Building Your Picnic Table?
Getting started on your picnic table woodworking plans involves several important steps.
-
Choose Your Design: Deciding on a design is crucial.
– Look over various styles, from traditional to modern.
– Consider the size based on your space and needs. -
Prepare Your Workspace: A clear and level workspace will make your project easier.
– Ensure you have a flat surface to work on.
– Gather all your materials and tools to avoid distractions. -
Measure Twice, Cut Once: Accurate measurements are essential in woodworking.
– Make precise cuts according to the dimensions given in your plans.
– Use your tape measure to verify all lengths.
How Do You Construct the Tabletop?
The tabletop is the heart of your picnic table, so it’s important to get it right.
Here’s a simple step-by-step on how to construct it:
-
Cut the Lumber: Use your saw to cut the planks to the required length for the tabletop.
– Standard picnic tables usually have a length of 6 to 8 feet. -
Lay Out the Planks: Position the planks side-by-side.
– Ensure they fit snugly and align perfectly. -
Attach Cross Beams: Use additional 2x4s to create cross beams underneath the tabletop for added support.
– Secure with wood screws and wood glue. -
Sand the Edges: Smoothing the edges will ensure no splinters are present.
– Use sandpaper along the edges and surfaces.
How Do You Assemble the Table Legs?
The legs of your picnic table provide the support needed for stability.
Here’s how to attach them:
-
Cut the Legs: Utilize 4×4 lumber to create the legs.
– Commonly, each leg should be between 30 to 36 inches tall. -
Attach the Legs: Position each leg at the corners of the tabletop.
– Use your drill to create pilot holes, helping to prevent the wood from splitting.
– Secure with 3-inch wood screws. -
Add a Support Beam: To enhance durability, add a beam between each pair of legs.
– This extra support will stabilize the entire structure.
How Can You Build Your Picnic Table Benches?
Once your tabletop and legs are secure, you can move on to building the benches.
Here are the steps involved:
-
Cut the Bench Slats: Just like the tabletop, cut your slats to size.
– Typically, they should match the length of the tabletop. -
Build the Bench Structure: Use 2x4s to create a frame for the benches.
– Attach the bench structure to the legs. -
Attach the Bench Slats: Lay the slats on the bench frame and secure them using screws.
– Make sure they’re equidistant for an even appearance. -
Sand and Finish: Don’t forget to sand the benches to ensure comfort.
– Apply a wood finish or sealant to protect against the weather.
How Do You Finish and Protect Your Picnic Table?
The final touches make a significant difference in the longevity of your picnic table.
Here’s how to finish and protect it:
- Thoroughly Sand All Surfaces: A smooth surface feels better and lasts longer.
- Select an Outdoor Sealant or Stain: Choose a product that is weather-resistant.
- Apply Evenly: Use a brush or sprayer to apply the finish.
- Allow Time to Dry: Follow the manufacturer’s instructions for drying time.
Why Use Picnic Table Woodworking Plans?
Woodworking plans provide several advantages, especially when it comes to building a picnic table:
- Clear Instructions: They guide you through each step, ensuring you don’t miss important details.
- Time-Saving: Instead of calculating dimensions and figuring out designs, you can rely on pre-designed plans.
- Cost-Effective: Using free or inexpensive woodworking plans can save you money in the long run.
Where Can You Find Free Picnic Table Woodworking Plans?
There are numerous resources available online where you can find free picnic table woodworking plans:
- Woodworking Websites: Check community-driven sites that share plans.
- YouTube Tutorials: Many woodworkers provide visual, step-by-step video guides.
- Free Downloadable Plans: Websites often offer downloadable PDFs with detailed instructions.
Conclusion: Embrace the Outdoors with Your New Picnic Table!
Building a picnic table using picnic table woodworking plans is an enjoyable and achievable project that can significantly enhance your outdoor experience.
From gathering materials to finishing touches, this guide has covered the essential steps you need to take.
So, grab your tools, select your plans, and get ready to create a space where you can relax, dine, and make memories with friends and family.
Happy woodworking!