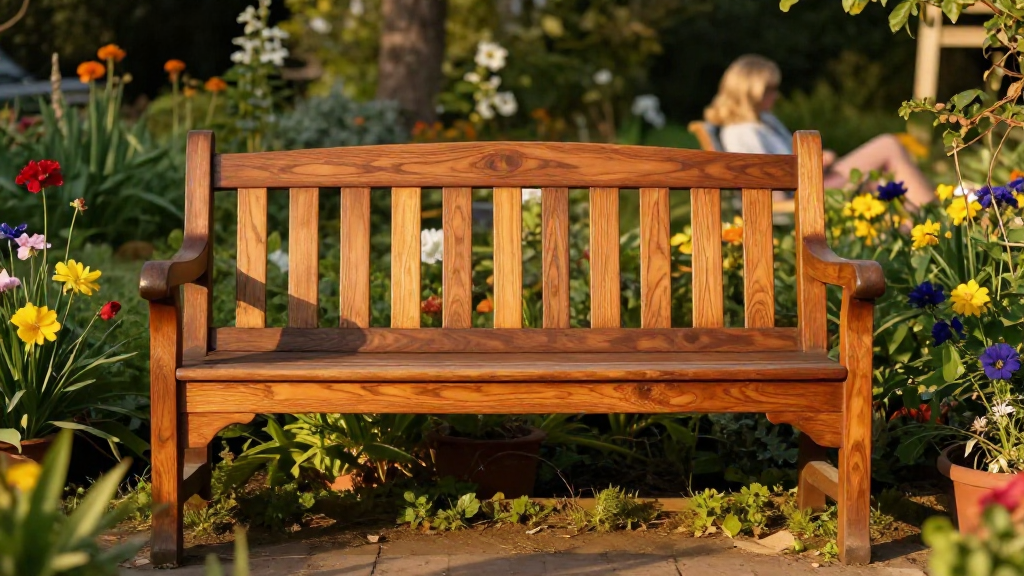
Creating an outdoor bench can be a rewarding project that adds both functionality and aesthetic appeal to your garden or patio.
With this outdoor bench woodworking plan, you can craft a beautiful and sturdy piece of furniture that will invite relaxation in your outdoor space.
Why Choose an Outdoor Bench Woodworking Plan?
What materials do you need?
- Lumber: For this project, you’ll need pressure-treated wood or cedar to ensure durability against the elements.
- Wood Glue: Essential for adding strength to your joints.
- Wood Screws: Use rust-resistant screws to secure the planks together.
- Sandpaper: For finishing and smoothing out rough edges.
- Outdoor Sealant: To protect the wood from moisture and UV rays.
How do you achieve the best design?
The simplicity of an outdoor bench woodworking plan allows you to customize the design to suit your personal style.
You can choose a minimalist design or something with intricate details based on your skill level and preferences.
What Are the Steps to Build an Outdoor Bench?
Step 1: Gather Your Tools
Before you start, make sure you have the following tools ready:
- Circular Saw: For cutting the lumber accurately.
- Drill: Essential for making pilot holes and driving in screws.
- Measuring Tape: To ensure exact dimensions.
- Square: For checking corners for right angles.
- Clamps: Helpful for holding pieces together while you work.
Step 2: Cut the Lumber
Using your circular saw, cut the following pieces from your lumber:
- 2 long pieces (for the bench length): Around 5 feet each.
- 2 shorter pieces (for the bench width): Approximately 2 feet.
- 2 legs: Each leg should be about 18 inches tall.
- 1 support beam: For added stability, cut this piece to about 4 feet.
Step 3: Assemble the Frame
- Start by laying out the two long and two short pieces to form a rectangle.
- Attach the corners using wood screws. Ensure the frame is square by measuring the diagonals.
- Once the frame is secure, attach the legs at each corner using wood screws.
Tip: Use wood glue on the edges before inserting screws for extra strength.
Step 4: Add the Support Beam
Once the legs are secured, attach the support beam to the middle of the bench’s length.
This will prevent sagging and add more stability to your bench.
Step 5: Create the Seat
- Cut several slats (around five) from the leftover lumber.
- Each slat should be approximately 5 inches wide and 2 feet long.
Leave a small gap (about half an inch) between each slat for drainage.
- Lay the slats across the frame and secure them using wood screws.
Step 6: Sand and Finish Your Bench
To avoid splinters, sand down any rough edges.
Once smooth, apply an outdoor sealant to protect the wood.
How do you decorate your outdoor bench?
What Are Some Creative Finishing Touches?
-
Painting or Staining: Choose a color or stain that complements your garden. A natural stain will highlight the wood grain, while paint can provide a splash of color.
-
Cushions: Enhance comfort by adding outdoor cushions or pillows that resist water and fading.
-
Planter Boxes: Attach small planter boxes on the sides for a beautiful touch of greenery.
-
Lighting: String lights above the bench can create a cozy ambiance for evening gatherings.
Can You Personalize Your Outdoor Bench?
What personalized touches can you add?
-
Engraving: Personalize your bench with an engraving or decorative design.
-
Colorful Fabrics: Use an outdoor fabric to create custom cushions that match your style.
-
Built-in Storage: Create hidden compartments under the bench for cushions or gardening tools.
Is it difficult?
Building your outdoor bench using this outdoor bench woodworking plan is manageable, even for beginners.
With some basic woodworking skills and patience, you’re well on your way to completing this project.
What Should You Keep in Mind While Building?
How do you ensure longevity?
-
Choose Quality Wood: Quality materials ensure that your bench will stand the test of time.
-
Regular Maintenance: Check the bench for any signs of wear and tear periodically and reapply sealant as needed.
-
Location: Position your bench in a sheltered spot to minimize exposure to harsh weather conditions.
Conclusion: Enjoy Your Outdoor Space
With this outdoor bench woodworking plan, you’re equipped to transform your garden or patio into a cozy retreat.
Not only will your newly built bench provide seating for friends and family, but it will also enhance the overall beauty of your outdoor area.
Remember that the key to a successful woodworking project is meticulous planning and care.
So, grab your materials, tools, and this guide, and get started on your outdoor bench today!
Whether you decide to follow this plan strictly or make your modifications, you will love the final outcome.
Embrace the satisfaction that comes with creating something special in your outdoor space.
Happy woodworking!