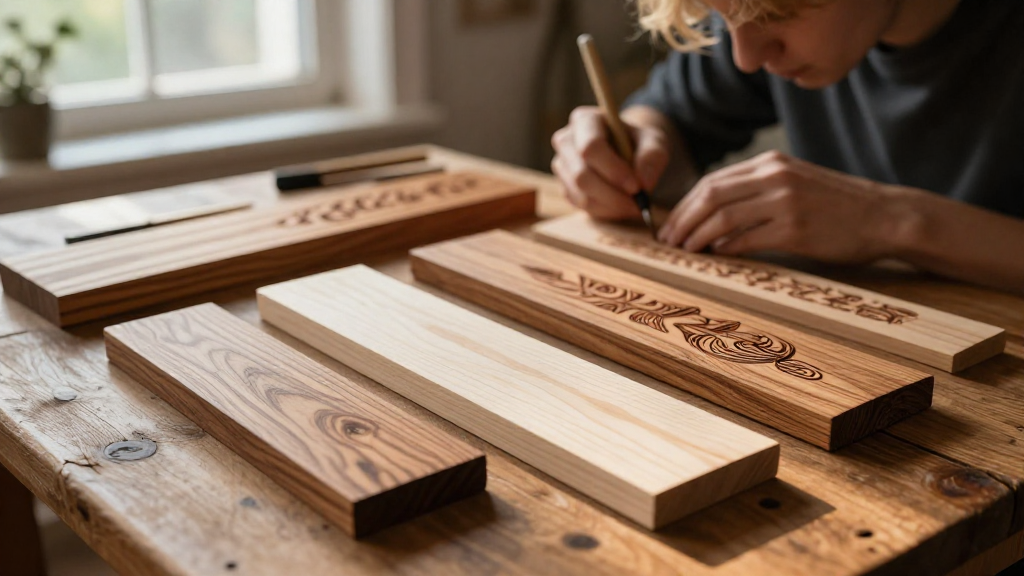
When it comes to creating stunning woodburning art, choosing the right material is crucial. In this article, we’ll explore the best wood for woodburning art to help you achieve the finest results.
What Makes Wood Suitable for Woodburning?
Not all woods are created equal.
Texture, grain, and resin content play significant roles in determining how well a wood will take to pyrography.
The best wood for woodburning art typically has characteristics like:
- Fine grain: A smooth surface allows for greater detail.
- Low resin content: Reduces smoke and ensures cleaner burns.
- Light to medium shades: Easier to visualize and allows for greater contrast in designs.
Now, let’s explore some of the best woods for woodburning art.
What Are the Top 5 Best Woods for Woodburning Art?
1. Basswood
Basswood is perhaps the most favored choice among pyrographers.
Here’s why:
- Soft texture: Easy to carve, making it an excellent choice for intricate designs.
- Pale color: This light shade allows for high contrast in your artwork.
- Low density: Provides smoother burns, reducing wear on your tools.
Due to its accessibility and versatility, basswood is often found in art supplies stores, making it ideal for beginners and professionals alike.
2. Birch
Another standout option is birch.
What makes birch such a wonderful choice?
- Fine, even grain: Helps achieve excellent detail in your artwork.
- Durability: Sturdy and won’t warp easily, giving your pieces longevity.
- Warm color: It offers a beautiful grain pattern, enhancing decorative appeal.
Many artists seek birch for its balance of beauty and functionality.
3. Maple
Maple is a well-known hardwood that serves as an excellent substrate for woodburning.
Why should you consider it?
- Smooth surface: Provides an ideal canvas for pyrography.
- Variation in grain: Allows for the creation of unique patterns.
- Great for blending techniques: Soft and fine features lend themselves to shading and detail work.
Maple can be a bit more challenging to work with for beginners, but its results are often stunning.
4. Poplar
Poplar offers versatility, making it a great option for both novice and experienced woodburners.
What benefits does poplar provide?
- Budget-friendly: A readily available and economical choice.
- Moderate hardness: Allows for easy burning without too much resistance.
- Accepts stain and paint well: Enhancing your finished product’s presentation.
Its affordability and adaptability make poplar a reliable option for woodburning art.
5. Cherry
Cherry has a reputation for not just being great for cabinetry but also excellent for woodburning.
What makes cherry stand out?
- Rich color: This wood darkens with age, adding depth to your artwork.
- Fine texture: Smooth surface facilitates intricate detailing.
- Durable: Offers longevity, allowing you to make pieces that could be heirlooms.
Even though cherry may be on the pricier side, the results are often worth the investment.
Which Woods Should You Avoid for Woodburning Art?
What Woods Are Less Suitable?
While many woods can technically have pyrographic designs burned into them, some are less ideal due to their properties.
Here are a few to avoid:
-
Cedar:
– Often contains high resin content, resulting in excessive smoke.
– Its grain is irregular, which makes detailing challenging. -
Redwood:
– Soft and porous, but also very resinous, making it difficult for clean burns. -
Pine:
– Contains a lot of resin, which causes uneven burns and contributes to unwanted smoke. -
Teak:
– It has oils that prevent effective burning and can dull your tools more quickly. -
Treated woods:
– Any wood that’s been chemically treated should generally be avoided as it can emit harmful fumes when burned.
How Do I Prepare wood for Woodburning?
To achieve the best results with your woodburning art, proper preparation is essential.
Here’s your quick guide:
-
Select Your Wood: Choose the best wood for woodburning art from the aforementioned options.
-
Sanding:
– Use fine sandpaper (around 220 grit) to smooth the surface.
– Ensure there are no rough spots that can affect the burn. -
Cleaning:
– Wipe down the wood with a damp cloth to remove dust.
– Allow the surface to dry completely. -
Transfer Your Design:
– You may sketch lightly on the surface or use transfer paper to get your design in place. -
Practice:
– It’s always a good idea to practice on a scrap piece of the same wood to get the feel of the burns.
What Are the Techniques for Woodburning Art?
What Should I Know About Pyrography Techniques?
Once you’ve selected your wood, it’s time to explore techniques.
Some popular methods include:
- Shading: Layering burns provides depth; use a slow, controlled motion.
- Line Work: Delicate outlines can be achieved by adjusting the tip of the pyrography tool.
- Texturing: Different nibs can create varying textures for more intricate designs.
The key is to experiment and find what works best with the chosen wood.
Why Is Choosing the Right Wood Important?
How Do Material Choices Impact My Artwork?
The quality of your wood can dramatically affect your final piece.
Choosing the best wood for woodburning art means:
- More detail in burning.
- Enhanced aesthetics with the wood’s natural grain and color.
- A smoother experience for your tools.
Investing effort into selecting the right wood is essential for elevating your woodburning art to the next level.
Conclusion
In summary, the best wood for woodburning art greatly influences your efficiency and the beauty of your creations.
Consider basswood, birch, maple, poplar, and cherry for your projects.
Avoid resin-rich or treated woods that can complicate the burning process.
Ultimately, choosing the right wood can make all the difference, transforming a simple wooden piece into a stunning work of art.
So gear up and start exploring the world of woodburning art with confidence!