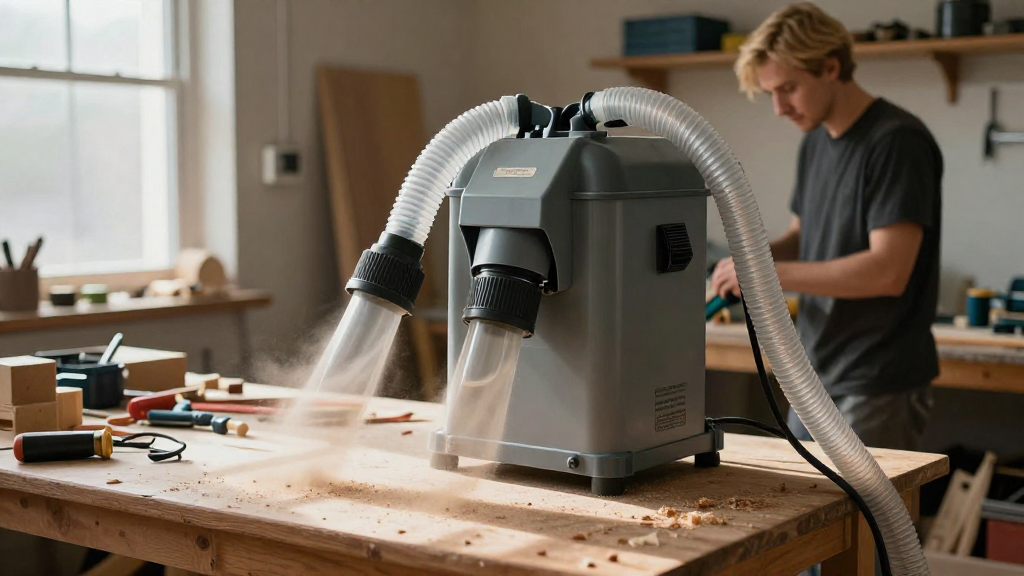
A well-designed dust collection system for your workshop is essential for maintaining a clean and safe working environment.
With the right setup, you can significantly reduce airborne dust, prevent respiratory issues, and keep your tools in top condition. In this article, we’ll explore the necessary components, steps, and considerations for establishing an effective dust collection system for workshops of different sizes.
What Are the Key Components of a Dust Collection System for Your Workshop?
To set up a successful dust collection system for your workshop, you need to understand its main components:
- Dust Collector: The heart of the system, which captures dust particles and debris.
- Ductwork: Pipes that transport the dust from the machines to the dust collector.
- Hoses: Flexible tubing that connects power tools to the ductwork.
- Fittings and Accessories: Various connectors and adaptors to ensure a seamless flow of dust.
- Filters: Components that clean the air and keep fine dust from going back into the workspace.
By selecting quality components for your dust collection system for your workshop, you will improve performance and longevity.
How Much Dust Collection Power Do You Need?
To determine how powerful your dust collector should be, consider several factors:
- Type of Tools Used: Larger machines like table saws or planers require stronger collectors.
- Size of Your Workshop: The cubic feet per minute (CFM) rating should be able to handle the volume of air in your workshop.
- Distance: Account for the length and number of bends in your ductwork, which can reduce airflow.
As a rule of thumb, aim for a collector with at least 800-1200 CFM for most small to medium workshops. If you work with multiple machines at once, consider units that can support multiple connections.
How to Choose the Right Dust Collector?
When selecting the ideal dust collector for your workshop, take the following steps into account:
- Bag vs. Canister Filters:
- Bag filters are economical and easier to clean but may not capture fine particles as effectively.
-
Canister filters offer better filtration but are often higher in price.
-
Portability vs. Stationary:
-
Portable models allow for flexibility, while stationary models can be fixed to a designated area.
-
Noise Level: Lower noise models enhance the workshop experience but are slightly more expensive.
-
Size: Ensure the dust collector fits into your workshop without overwhelming the space.
By diligently evaluating these factors, you can effectively choose the right dust collector as part of your dust collection system for your workshop.
What Are the Best Layout Practices for Your Dust Collection System?
A well-planned layout is crucial for efficiency. Here are some key practices:
-
Map Out the Workshop:
– Draw a floor plan to understand the layout of your tools and available space. -
Minimize Duct Length:
– Shorter duct runs help improve airflow and efficiency.
– Avoid unnecessary bends; try to use straight lines as much as possible. -
Strategic Positioning:
– Place the dust collector near the center of the workshop.
– Consider the locations of machines used frequently; locate them near the collector for seamless operation. -
Zone Your Workshop:
– Allocate zones for different operations, such as cutting or sanding, and ensure adequate dust collection at each point.
By following these practices, your dust collection system for your workshop will operate at peak performance, capturing the maximum amount of dust.
How to Install Your Dust Collection System?
The installation of your dust collection system for your workshop can be broken down into simple steps:
- Assemble Your Components: Start with all necessary items laid out on a workbench.
- Install the Dust Collector: Secure it in an accessible area based on your layout.
- Connect Ductwork: Measure and cut your ductwork to fit the planned layout, ensuring connections are tight and secure.
- Attach Hoses to Machines: Utilize adaptors or fittings to connect hoses to individual tools.
- Seal Connections: Use duct tape and clamps where necessary to prevent leaks, ensuring all connections are airtight.
- Test the System: Run the dust collector to audit airflow and capture efficiency.
Following these steps will greatly enhance how dust is managed within your workshop.
How to Maintain Your Dust Collection System for Your Workshop?
Regular maintenance extends the life of your dust collection system for your workshop. Here are essential maintenance tasks:
- Empty Dust Collector: Regularly remove collected dust to ensure optimal capacity and efficiency.
- Inspect and Clean Filters: Depending on your usage, clean filters monthly to maintain airflow.
- Check for Leaks: Periodically inspect ductwork and joints for any signs of leaks and repair as necessary.
- Lubricate Moving Parts: Ensure your dust collector’s motors and fans run smoothly by applying lubricant as needed.
By committing to regular maintenance, your dust collection system will serve you effectively for years to come.
Conclusion: Is It Worth Setting Up a Dust Collection System for Your Workshop?
Investing time and resources into a dust collection system for your workshop is a decision you won’t regret.
Not only does it improve the quality of air in your workspace, but it also prolongs the lifespan of your tools and enhances your overall productivity.
By following the guidelines laid out in this article, you can set up a dust collection system tailored to your needs, creating a safer and more enjoyable workshop environment.
Remember, a clean workshop is a productive workshop!