Applying wood finish can feel like a daunting task, especially if you want to achieve a smooth, streak-free surface. In this article, we will explore how to apply wood finish evenly, ensuring a beautiful, professional-looking outcome for your woodworking projects.
Why is an Even Finish Important?
Achieving an even wood finish is crucial for both aesthetics and longevity.
A streaky finish can highlight imperfections and detract from the overall appearance of your furniture or project.
Moreover, an uneven application can lead to issues like:
- Flaking
- Peeling
- Discoloration
By knowing how to apply wood finish evenly, you ensure that your work not only looks good but also lasts longer.
What Tools Do You Need?
Before diving into the application process, gather the necessary tools:
- Sandpaper or a power sander (220-grit recommended)
- Lint-free cloths or paper towels
- A high-quality brush or foam applicator
- Needham mineral spirits or a pre-stain conditioner, if applicable
- Wood finish (oil-based or water-based)
- Drop cloth to protect your workspace
- Respirator mask (if using solvent-based finishes)
How to Prepare Your Wood for Finishing?
Preparation is the key to successfully learning how to apply wood finish evenly.
-
Sand the Surface:
– Start with a coarser grit (120) and gradually move to a finer grit (220).
– Always sand in the direction of the wood grain.
– Make sure to remove all dust and debris with a lint-free cloth. -
Condition the Wood:
– For softwoods like pine, applying a pre-stain conditioner can help achieve an even finish.
– Apply the conditioner with a brush or cloth, let it sit for a few minutes, and wipe off any excess. -
Ensure the Wood is Clean:
– Vacuum or wipe the surface to eliminate dust.
– Make sure the surface is dry before applying the finish.
How to Apply Wood Finish Evenly?
Now that your wood is prepped, let’s get into how to apply wood finish evenly.
Step 1: Choose the Right Finish
Select a wood finish that suits your project. Consider the following options:
- Oil-based finishes: These penetrate deeper and often provide a rich color but take longer to dry.
- Water-based finishes: Dry quickly, are easy to clean up, and have less odor.
Step 2: Stir the Finish
- Before applying your finish, gently stir it with a stick.
- Avoid shaking the can, as this can create bubbles.
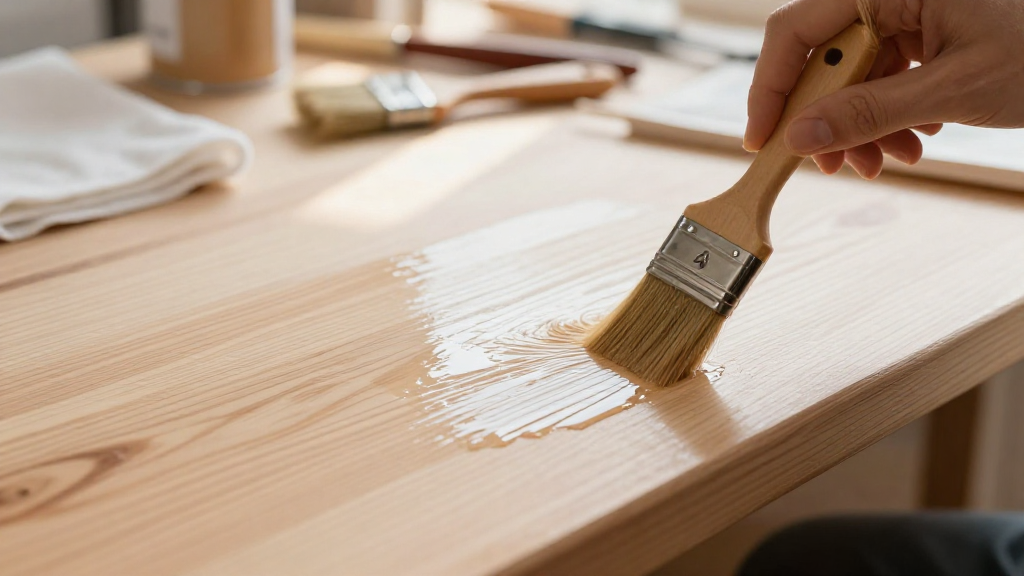
Step 3: Apply a Thin Coat
- Using your brush or foam applicator, apply a thin and even coat.
- Start from one side and move to the other in long, even strokes.
Step 4: Work With the Grain
- Always apply the finish in the direction of the wood grain.
- This will help prevent streaks and blotches.
Step 5: Avoid Over-Working the Finish
- Don’t over-brush the finish once it’s on the wood.
- Simply lay it on and allow gravity to help provide an even finish.
Step 6: Check for Streaks
- As you apply, periodically check your work for streaks.
- If you notice any areas that appear uneven, lightly brush them out.
Step 7: Let It Dry
- Allow the finish to dry completely before applying a second coat.
- Follow the manufacturer’s recommended drying time, which may vary.
When Should You Sand Between Coats?
Sanding between coats can significantly improve your final finish.
- Use a fine-grit sandpaper (320 or higher) to lightly scuff the dry surface.
- Wipe away any dust before applying the next coat.
- This process enhances adhesion and creates a smoother finish.
What are Common Mistakes to Avoid?
When learning how to apply wood finish evenly, keep an eye out for these common mistakes:
- Skipping Preparation: Not sanding or cleaning properly can lead to an uneven finish.
- Overloading Your Brush: Applying too much finish can create runs or drips.
- Inconsistent Strokes: Uneven brush strokes can result in visible streaks.
- Ignoring the Grain: Applying the finish against the grain can lead to unsightly marks.
How Do You Maintain Your Finished Wood?
Once you have learned how to apply wood finish evenly and achieved the desired look, it’s essential to maintain it.
- Regular Cleaning: Use a soft, damp cloth to clean dust and spills.
- Avoid Harsh Chemicals: Steer clear of strong cleaners that can degrade the finish.
- Reapply Finish as Needed: Depending on usage, you may need to refresh the finish every few years.
Conclusion
Knowing how to apply wood finish evenly can transform your woodworking projects from good to exceptional.
By focusing on preparation, technique, and maintenance, you can enjoy the beauty of your finished pieces for years to come.
Remember, practice makes perfect.
Don’t hesitate to experiment with different types of finishes to find the one that best enhances your wood project.
With these tips in hand, you’ll soon master the art of applying wood finish without streaks, rewarding yourself with beautiful, professional-looking results on every project.
Happy finishing!