If you’re looking for a woodworking project that combines both functionality and artistry, this guide on how to build a roll-top desk is just what you need.
What is a Roll-Top Desk?
A roll-top desk is a traditional piece of furniture that features a distinctive roll-up mechanism.
This type of desk allows you to conceal your work materials when not in use.
The desk’s design typically includes:
- A tambour: This is the curved top that rolls up.
- Dividers and compartments: For organizing supplies and documents.
- A sturdy work surface: Ideal for writing or using a computer.
Understanding these components is essential when learning how to build a roll-top desk.
What Materials Do You Need?
To begin your project, you need to gather the right materials.
Here’s a comprehensive list:
- Wood: Choose hardwoods like oak, cherry, or maple for durability.
- Plywood: Useful for the desk’s framework and backing.
- Tambour material: Thin strips of wood or flexible plywood.
- Hinges: For the rolling mechanism.
- Wood glue: For sturdiness.
- Wood screws: For joining components.
- Finish: Stain or paint to achieve your desired look.
When you’re developing your skills on how to build a roll-top desk, having the right materials will make a significant difference in the quality of your work.
What Tools Will You Need?
Equipping yourself with the proper tools is crucial for any woodworking project.
Here’s what you’ll need to effectively build a roll-top desk:
- Circular saw or hand saw: For cutting wood panels.
- Drill: For making holes and driving screws.
- Router: For creating edges and grooves.
- Sandpaper: To smooth the surfaces.
- Clamps: To hold pieces together during the assembly phase.
- Measuring tape: For precise measurements.
- Square: To ensure angles are correct.
Having these tools at your disposal will empower you to successfully craft your roll-top desk.
How Do You Plan Your Design?
Planning is a crucial step in the woodworking process.
How to build a roll-top desk begins with a thoughtful design.
Here are some key consideration points:
- Size: Determine the dimensions based on your available space.
- Style: Decide if you want a traditional, modern, or contemporary look.
- Functionality: Think about additional features, like drawers or shelves.
- Construction method: Will you opt for advanced joinery techniques or simpler construction?
Creating a sketch or blueprint can help visualize your project.
This will serve as a map as you embark on your journey of how to build a roll-top desk.
How Do You Assemble the Base?
Now let’s get into the nuts and bolts of assembling the desk’s base.
Step 1: Cut the Wood
- Measure and cut your wood according to the design.
- Ensure that all cuts are straight and precise.
Step 2: Build the Frame
- Assemble the frame using wood glue and screws.
- Use clamps to hold everything in place while it dries.
Step 3: Attach the Legs
- Securely attach the legs to the frame.
- Ensure they are level for stability.
Step 4: Add the Surface
- Cut your work surface to size.
- Attach it firmly to the frame.
By now, you’re progressing nicely in how to build a roll-top desk.
How Do You Create the Tambour?
Creating the tambour, or the roll-top portion of the desk, is perhaps the most challenging aspect.
Here’s how to proceed:
Step 1: Cut Tambour Slats
- Cut thin strips of wood or plywood for the tambour slats.
- Make sure all slats are of uniform width.
Step 2: Assemble the Slats
- Using a flexible backing piece (like canvas or thin plywood), glue the slats onto it.
- Leave some space between the slats to allow them to roll freely.
Step 3: Attach the Tambour
- Fit the assembled tambour to the top of the desk.
- Attach it using the hinges, ensuring it rolls smoothly.
Creating a functional tambour is a major milestone in how to build a roll-top desk.
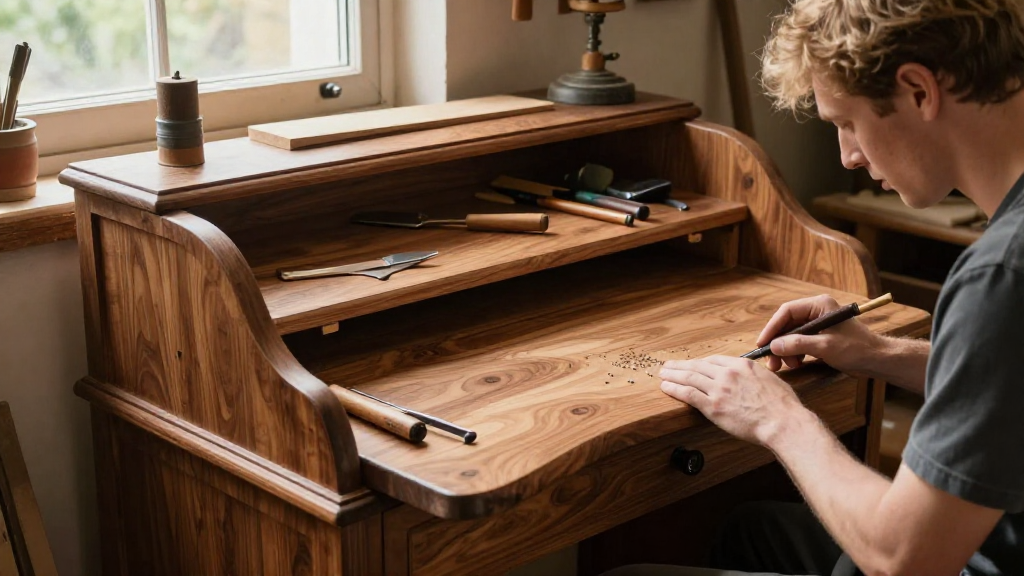
How Do You Add the Finishing Touches?
Once the main structure is assembled, it’s time to enhance its aesthetic appeal.
Step 1: Sand the Desk
- Use sandpaper to smooth all surfaces.
- Pay close attention to edges and corners.
Step 2: Apply Stain or Paint
- Select a finish that complements your home decor.
- Apply it evenly and allow it to dry.
Step 3: Add Hardware
- Install any knobs, handles, or locks.
- Ensure they match your design theme.
Step 4: Organize the Interior
- Consider adding dividers or small boxes inside the desk for organization.
- This is an excellent way to customize your workspace.
Finishing touches can truly elevate your project and make it feel complete, showcasing your skills in how to build a roll-top desk.
How Do You Maintain Your Roll-Top Desk?
Once your roll-top desk is completed, proper maintenance is key to longevity.
Here are some maintenance tips:
- Regular Cleaning: Dust your desk regularly and use appropriate cleaners.
- Avoid Scratches and Dents: Use coasters and pads under objects to prevent damage.
- Reapply Finish: Consider re-staining or applying a new coat of finish every few years to keep it looking new.
By taking these simple steps, you will ensure your roll-top desk remains a cherished piece for years to come.
Conclusion: Why Build a Roll-Top Desk?
Building a roll-top desk can be a fulfilling and rewarding project.
It combines both craftsmanship and functionality, providing you with a piece of furniture that is not only beautiful but also helps organize your workspace.
As you take on this project, remember:
- Gather the right materials and tools.
- Plan your design carefully.
- Follow each step methodically.
With this knowledge, you are well-equipped to learn how to build a roll-top desk that you can be proud of. Happy woodworking!