Have you ever wondered how to build a tool caddy?
This beginner-friendly project is a fantastic way to dive into woodworking.
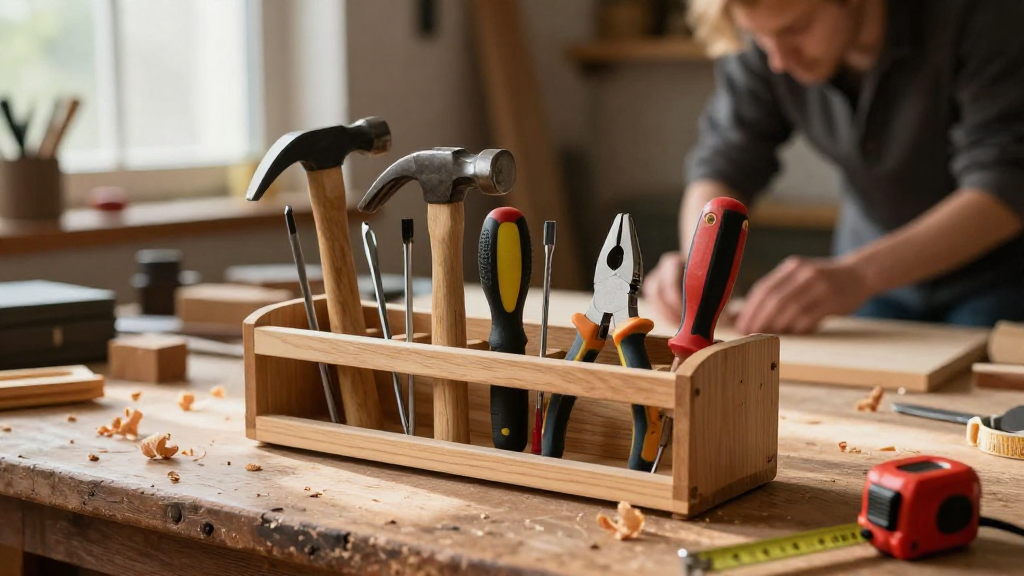
Tool caddies are practical, versatile, and essential for anyone looking to organize their workspace.
In this guide, you will learn step-by-step how to build a tool caddy.
Let’s get started!
What Materials Do You Need?
Before you can start building your tool caddy, gather these essential materials:
- Pine boards (1×8 or 1×10)
- Wood screws (1.25” and 2”)
- Wood glue
- Sandpaper (medium and fine grit)
- Wood finish (optional, for aesthetics)
- Handle (can be wood or a ready-made hardware handle)
- Wood clamps
Making a Shopping List
Here’s a quick shopping list of what you will need:
- Pine boards – easy to work with and readily available
- Wood screws – for securing the structure
- Wood glue – adds additional strength
- Sandpaper – for a smooth finish
- Wood finish – optional for a polished look
- Handle – for easy carrying
- Wood clamps – to hold pieces together while glue dries
How Do You Cut the Boards?
Once you have all your materials, it’s time to measure and cut the boards.
Measurements
A basic tool caddy can be made using the following dimensions:
- Bottom pieces: 12” x 16” (two pieces)
- Side pieces: 12” x 8” (two pieces)
- Front and back pieces: 16” x 8” (two pieces)
- Dividers (optional): 4” or 6” depending on your tools
Cutting Tips
- Measure twice, cut once to ensure accuracy.
- Use a table saw, circular saw, or handsaw for clean cuts.
- Remember to wear safety gear while cutting.
How Do You Assemble the Tool Caddy?
Once you have your cuts ready, it’s time to assemble the caddy.
Step-by-Step Assembly
-
Construct the Bottom
– Take two bottom pieces and lay them side by side.
– Connect them using wood glue along the edges and secure with clamps. -
Attach the Sides
– Position the side pieces vertically on the outer edges of the bottom.
– Ensure everything is square, apply screws, and follow with wood glue for added stability. -
Add the Front and Back Pieces
– Attach the front and back pieces, using screws and glue, ensuring they fit snugly.
– Check for any gaps and fill them with wood filler if required. -
Install Dividers (optional)
– If you want a more organized space, add dividers by cutting smaller board pieces.
– Secure them in place with screws and glue.
Remember:
It’s crucial to ensure everything is aligned properly before the glue sets.
How Do You Finish the Tool Caddy?
Once your tool caddy structure is complete, it’s time to finish it.
Sanding and Smoothing
- Start with medium-grit sandpaper (around 120 grit) to remove any rough edges.
- Progress to fine-grit sandpaper (around 220 grit) for a smooth finish.
Adding a Finish
- Choose a wood finish that suits your taste.
- You can apply stain for color or polyurethane for a protective coat.
- Make sure to apply it in a well-ventilated area.
How Do You Add a Handle?
The next step in how to build a tool caddy is adding a handle for portability.
Handle Options
-
Wooden Handle
– Cut a piece of wood (approximately 1.5” x 14”).
– Drill holes on each end, attach using screws to either side of the caddy. -
Hardware Handle
– Purchase a ready-made handle from your local hardware store.
– Use screws to attach it through pre-drilled holes on the sides.
Final Touches
Confirm that the handle is securely fastened and that it can support the weight of the tools you will place inside your caddy.
How Do You Customize Your Tool Caddy?
Customization allows you to make this tool caddy uniquely yours!
Paint or Stain
- Consider painting or staining your caddy after the finish has dried.
- Choose colors that match your workspace or reflect your personal style.
Add Labels
- Use paint pens to label each section for specific tools.
- This will make it easier to find what you need.
Additional Accessories
- Consider adding compartments inside to hold small items like screws or nails.
- You can also use foam inserts to hold delicate tools securely.
What Benefits Does a Tool Caddy Provide?
Building a tool caddy is not just about woodworking; it provides a variety of benefits:
- Organization: Keeps your tools tidy and easily accessible.
- Portability: Makes it easy to move tools from one location to another.
- Customization: Allows you to tailor it to your specific needs.
- Skill Development: Perfect for beginners to practice basic woodworking skills.
Conclusion
Now you know how to build a tool caddy as your first project!
With just a few materials and tools, you can create something functional and beautiful.
Whether you’re a seasoned DIYer or a complete beginner, building a tool caddy helps develop your skills and provides practical value.
Don’t waste any time; gather your materials, and get started on creating a stunning tool caddy that perfectly suits your needs!
Happy woodworking!