Creating an organized and efficient workspace is essential for any DIY enthusiast or professional tradesperson.
In this article, we will explore how to build a tool wall that not only maximizes vertical space but also brings organization and accessibility to your tools.
What is a Tool Wall?
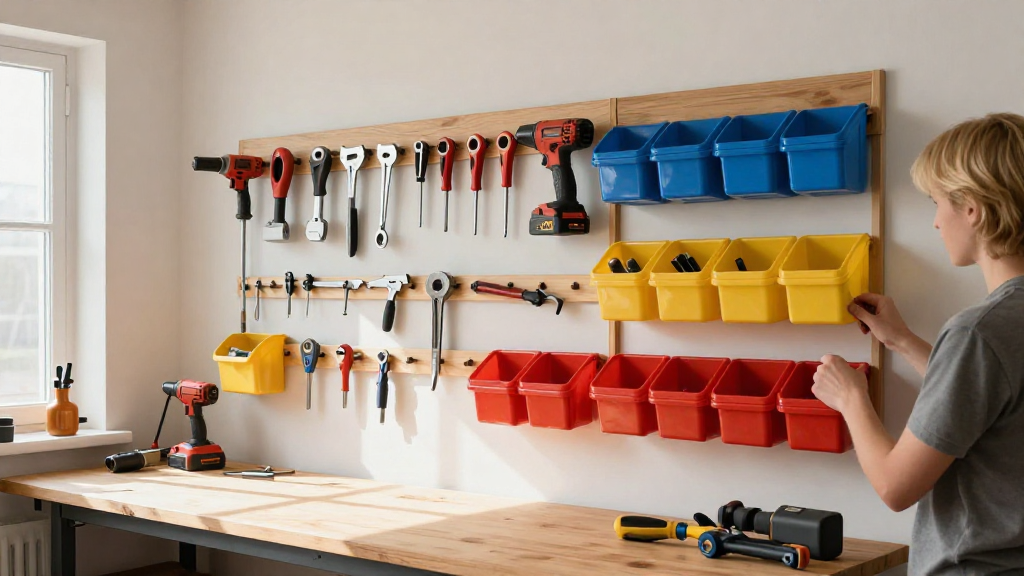
A tool wall is a vertical storage solution designed to hold various tools and equipment.
It allows you to free up floor space, making your workshop or garage more functional.
With a tool wall, you can keep your tools visible and easily accessible, reducing the time spent searching for the right tool when you need it.
Here’s how you can go about creating one in your own workspace.
Why Should You Build a Tool Wall?
Building a tool wall can significantly improve the efficiency of your workspace.
Here are some compelling reasons to consider this project:
-
Maximized Space: Tools often take up a lot of room.
By storing them vertically, you can utilize wall space that would otherwise remain empty. -
Increased Efficiency: An organized environment enables you to find the tools you need quickly.
-
Customizable: A tool wall can be designed to suit your specific needs.
-
Enhanced Safety: Proper tool storage reduces hazards in your workspace by minimizing clutter.
What Materials Do You Need to Build a Tool Wall?
The first step in learning how to build a tool wall is gathering the right materials.
Here’s a list of essential items you may need:
- Plywood or MDF: This will serve as the base for your tool wall surface.
- Shelving brackets: To hold shelves and create different levels.
- Pegboards: Great for hanging tools of various sizes.
- Hooks and hangers: Useful for hanging wrenches, pliers, and other hand tools.
- Nails, screws, and anchors: To secure everything in place.
- Measuring tape: To ensure you have precise measurements.
- Level: To make sure your wall is straight when installed.
- Paint or wood stain: For aesthetic purposes and protection against wear.
How to Design Your Tool Wall?
Designing your tool wall is an essential step in the process.
Consider the following questions to guide your design:
What Tools Will You Store?
Begin by listing the tools you want to display.
Consider:
- Hand tools (screwdrivers, wrenches, etc.)
- Power tools (drills, saws, etc.)
- Accessories (screws, nails, etc.)
How Much Space Do You Have?
Measure the space available on your wall.
Keep in mind:
- The height of the wall
- Your reach (what tools will you need to access frequently?)
- Any obstacles (windows, outlets, etc.)
What Layout Works Best?
Sketch different layouts for your tool wall.
Popular designs include:
- Horizontal rows: This allows for easy access and clear visibility.
- Vertical storage: Perfect for tools like shovels and brooms that need more space.
How Do You Build the Tool Wall Step-by-Step?
Now that you have your materials and design ready, it’s time to learn how to build a tool wall.
Follow these steps for a successful installation:
Step 1: Prepare Your Space
- Clear the area where you plan to install your tool wall.
- Ensure the wall is free from debris and dust.
Step 2: Measure and Mark
- Use a measuring tape to determine where you want to attach the plywood or pegboard.
- Mark the desired height and width for your tool wall with a pencil.
Step 3: Cut Your Material
- If using plywood, cut it to your marked size.
- Wear safety goggles and ensure you follow proper safety procedures during cutting.
Step 4: Attach the Base
- Secure the plywood or pegboard to the wall using nails or screws.
- Use a level to confirm it is straight before securing entirely.
Step 5: Install Shelving Brackets
- Determine where you want your shelves.
- Install brackets at marked spots to support the shelves.
Step 6: Hang Pegboards and Hooks
- Install pegboards using hooks, placing them where tools will hang.
- Arrange tools for visibility and easy access.
Step 7: Final Touches
- Add any additional shelving for non-tool items.
- Paint or stain the tool wall to fit your aesthetic.
How to Organize Your Tools Properly?
Once your tool wall is built, organizing your tools is crucial.
Here are some tips to follow:
- Group Similar Tools: Organize tools by category (e.g., hand tools, power tools).
- Label Everything: Use labels to mark where tools belong.
- Use Tool Holders: Consider magnetic strips for small metal tools like screwdrivers.
- Keep Frequently Used Tools at Eye Level: Store tools you use often within easy reach.
What are the Benefits of a Tool Wall?
Building a tool wall not only saves space but also provides numerous other benefits:
- Improved workflow and productivity
- Enhanced tool longevity through proper storage
- A professional and neat appearance in your workspace
How to Maintain Your Tool Wall?
Keeping your tool wall organized is an ongoing process.
Here are some best practices for maintenance:
- Regularly Clean the Area: Dust and debris can accumulate over time.
- Reorganize as Needed: As you acquire new tools, ensure that your storage methods adapt.
- Inspect Hooks and Attachments: Periodically check that everything remains securely fastened.
Conclusion
Building a custom tool wall is an excellent way to maximize space while keeping your tools within easy reach.
By understanding how to build a tool wall, you can transform an ordinary workspace into a highly functional area.
Follow the steps and tips provided in this guide to create an efficient, organized, and personalized tool wall that meets your individual needs.
Happy organizing!