Are you eager to learn how to make a cutting board?
Creating a personalized cutting board not only enhances your cooking experience but also provides a beautiful addition to your kitchen decor.
In this guide, we’ll walk you through each step of the process, from selecting materials to finishing touches, ensuring you have everything you need to make your own cutting board.
What Materials Do You Need for a Cutting Board?
Before we dive into the process of how to make a cutting board, let’s gather the essential materials.
Essential Tools and Supplies
-
Wood Selection: Choose hardwoods like maple, walnut, or cherry for durability and aesthetics. Avoid softwoods such as pine.
-
Tools: You will need:
- Table saw or circular saw
- Sander (orbital sander recommended)
- Clamps
- Measuring tape
- Wood glue
-
Straightedge
-
Finishing Products:
- Food-safe mineral oil
- Beeswax (optional for enhancing finish)
Safety Gear
Make sure to have the following safety gear on hand:
– Safety glasses to protect your eyes
– Dust mask to avoid inhaling sawdust
– Ear protection if using loud machinery
How Do You Cut and Assemble the Wood?
Now that you have your materials ready, you might wonder how do you cut and assemble the wood? Here’s a straightforward approach to get you started.
Step 1: Measure and Mark Your Wood
-
Determine the desired size of your cutting board. Common dimensions are 18 x 12 inches or 24 x 18 inches.
-
Using a measuring tape, mark the dimensions on your wood with a pencil.
-
Use a straightedge to ensure you have clean, straight lines.
Step 2: Cut the Wood
-
Use a table saw or circular saw to cut the wood according to your measurements.
-
If you’re combining different types of wood, make sure the pieces fit together snugly.
Step 3: Assemble the Pieces
-
If you are creating a butcher block-style board, arrange the wood pieces vertically and glue them together using wood glue.
-
Apply a generous amount of glue between the pieces and press them firmly together.
-
Secure the glued pieces with clamps and let them cure for about 24 hours.
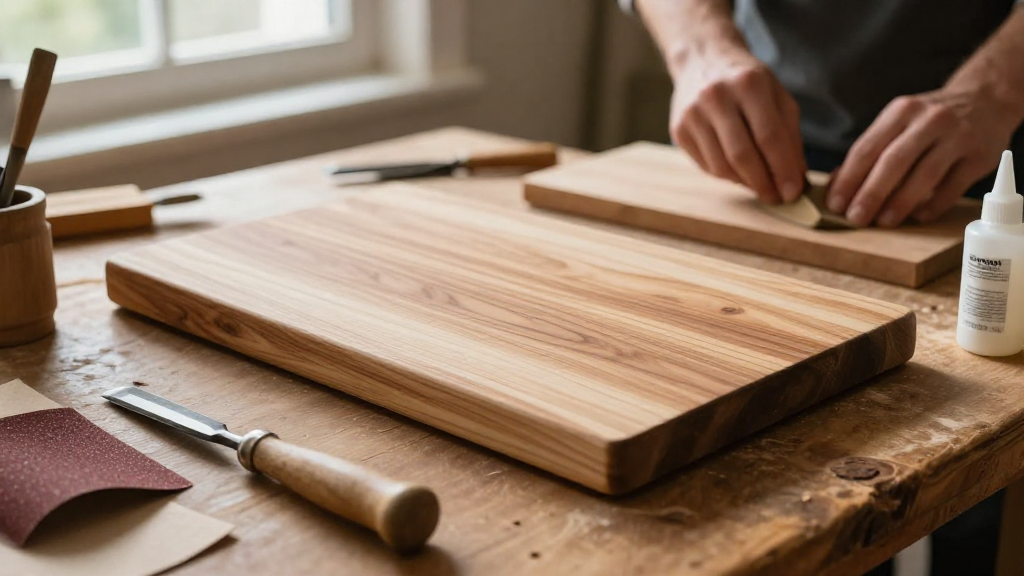
How Do You Sand Your Cutting Board?
After your cutting board is assembled, you need to focus on how do you sand your cutting board to achieve a smooth, professional finish.
Steps for Sanding
-
Start with coarse-grit sandpaper (about 80 grit) to flatten any uneven surfaces.
-
Gradually move to finer grit sandpapers (120, then 220 grit) to achieve a smooth surface.
-
Sand in the direction of the wood grain to avoid scratches.
-
Wipe down your cutting board with a damp cloth between each sanding to remove sawdust.
What Finishes Are Best for a Cutting Board?
Choosing the right finish is crucial for maintaining your cutting board. You might be wondering what finishes are best for a cutting board? Here are a few options:
Food-Safe Mineral Oil
- This option is the most popular as it is safe for food contact and penetrates the wood, providing moisture protection.
Beeswax
- Mixing beeswax with mineral oil can give your cutting board a more lustrous finish while providing extra protection against moisture.
Varnish or Polyurethane
- These coatings may look appealing but are not typically recommended for cutting boards because they are not food-safe and can chip or peel.
How Do You Maintain Your Cutting Board?
You’ve just learned how to make a cutting board and are excited about your new creation. But how do you maintain it to ensure its longevity?
Regular Oil Treatment
- To keep your cutting board in top shape, oil it every month or as needed.
- Apply a generous amount of mineral oil and let it soak overnight.
Cleaning Your Board
- After each use, wash your cutting board with warm soapy water.
-
Avoid soaking it in water.
-
Use a vinegar and water solution occasionally for deeper cleaning.
-
Avoid putting your cutting board in the dishwasher, as the heat can warp the wood.
Why Should You Make Your Own Cutting Board?
You now have the answer to how to make a cutting board, but you might be wondering why you should go through the effort.
Benefits of DIY Cutting Boards
-
Customization: You can choose the size, type of wood, and design that suits your style.
-
Quality: Handmade boards can be more durable than factory-made options.
-
Personal Touch: A cutting board made by you can be a thoughtful gift or a unique kitchen centerpiece.
-
Cost-Effective: Making your own cutting board can often be cheaper than purchasing a high-quality one.
Conclusion
Now that you know how to make a cutting board from scratch, it’s time to get started on your woodworking adventure.
With the right materials, tools, and techniques, you’ll create a beautiful and functional piece that you can enjoy for years.
Quick Recap of the Steps:
-
Gather materials and tools: Hardwood, glue, clamps, etc.
-
Measure and cut: Follow your desired dimensions.
-
Assemble: Glue and clamp the pieces together.
-
Sand: Smooth the surface with sandpaper.
-
Finish: Apply food-safe mineral oil or beeswax.
-
Maintain: Oil regularly and wash properly.
Happy woodworking!