Are you interested in learning how to make a hope chest? This cherished piece of furniture not only serves as a storage solution but also holds sentimental value, often passed down through generations. In this guide, we will walk you through the essential steps and tips to craft your very own traditional wooden hope chest.
What Is a Hope Chest?
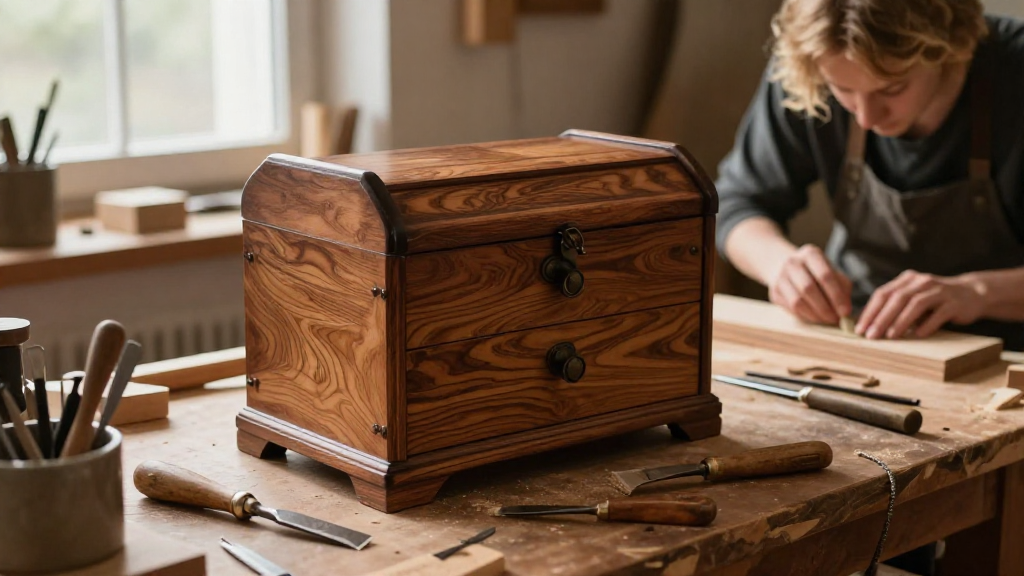
A hope chest, also known as a cedar chest or blanket trunk, is a sturdy storage box primarily used to hold items such as linens, clothing, and other keepsakes, often in anticipation of marriage or a new home. Traditionally made from wood, these chests were lovingly crafted to protect precious belongings. Learning how to make a hope chest is a wonderful way to create something meaningful.
What Materials Do You Need?
To start your project, gather the following materials:
- Lumber: For a traditional wooden hope chest, opt for hardwoods like oak, maple, or cedar. Cedar is particularly popular due to its natural resistance to insects and its aromatic properties.
- Wood Glue: Essential for the joints, providing additional strength and support.
- Wood Screws: Use screws that are appropriate for the thickness of your wood.
- Sandpaper: For smoothing out rough edges and surfaces.
- Wood Finish: A good quality finish, such as varnish or oil, to protect the wood.
- Hinges: To attach the lid to the chest.
- Handles: For easy opening and transport.
- Tools: Circular saw, drill, measuring tape, square, and screwdriver.
How Do You Plan the Design?
Planning is crucial when learning how to make a hope chest. Here are some key points to consider:
-
Size and Dimensions: Decide on the overall dimensions based on where you plan to place the hope chest. The classic dimensions are approximately 36 inches long, 18 inches wide, and 18 inches high.
-
Shape and Style: Will it have a flat or curved top? Classic designs often feature simple lines, while other styles may include intricate carvings or embellishments.
-
Lid Type: A lift-off lid is straightforward, but a hinged lid adds elegance and ease of access.
-
Finishing Touches: Consider how you want to personalize your hope chest. Will you engrave a name or date? Will you use stencils for decorative painting?
How Do You Cut the Wood?
Once your design plan is in place, it’s time to cut the wood. Follow these steps:
-
Measure Carefully: Use a measuring tape and square to mark your cuts accurately.
-
Cut the Pieces: You will need:
- Two side panels (for the length)
- Two end panels (for the width)
- A bottom panel
- A lid
For instance, if your chest is 36 inches long, ensure the side pieces measure 36 inches, and the end pieces match the width (18 inches).
- Use Sandpaper: After cutting, sand each piece to smooth out any rough edges. This helps prevent splinters and prepares the surface for finishing.
How Do You Assemble the Hope Chest?
Now it’s time to put everything together:
-
Join the Side Panels: Start by attaching the side panels to the bottom piece using wood glue and screws for extra stability.
-
Attach the End Panels: Position the end panels in place and secure them in the same manner.
-
Install the Lid: Once the frame is ready, attach the hinges to the back of the chest and the lid.
-
Check Stability: Ensure all joints are secure and the chest opens and closes without issues.
How Do You Finish the Hope Chest?
Finishing is a vital step in learning how to make a hope chest. Here’s how to proceed:
-
Sand Again: Once assembled, sand the entire chest to ensure a smooth surface.
-
Choose Your Finish: You may choose between varnish, oil, or a combination.
-
Apply the Finish: Use a brush to apply an even coat. Let it dry according to the manufacturer’s instructions.
-
Final Touches: After the initial coat is dry, apply additional coats until you achieve the desired sheen and protection.
How Do You Personalize Your Hope Chest?
Personalizing your hope chest can make it even more special. Here are some ideas:
- Engraving: Consider engraving a name, date, or a meaningful quote.
- Decorative Painting: Use stencils or freehand painting to create beautiful designs.
- Fabric Lining: You may choose to line the inside with fabric or felt to add a plush touch.
How to Maintain Your Hope Chest?
Learning how to make a hope chest is just the beginning. Proper maintenance is key to preserving its beauty:
-
Clean Regularly: Dust the exterior with a soft cloth.
-
Monitor Humidity: Store your chest in a cool, dry place to prevent moisture damage.
-
Reapply Finish: Depending on use, consider reapplying the finish every few years.
Wrap Up: Why Should You Make a Hope Chest?
A traditional wooden hope chest is more than just a storage solution; it holds memories and keepsakes that tell your story.
Understanding how to make a hope chest allows you to create a piece that can be cherished for generations.
Not only is it a rewarding DIY project, but it provides a personal touch to your home. Whether you’re preparing for marriage, celebrating a milestone, or simply seeking a beautiful way to store belongings, a hope chest will undoubtedly serve you well.
Jump into this crafting adventure and enjoy the process of making something truly special. Your hope chest is waiting to become a part of your legacy, filled with items that reflect your life and love. Happy crafting!