Learning how to make a mortise and tenon joint is a valuable skill for both amateur and professional woodworkers. This classic joinery technique is often used in furniture making, cabinetry, and framing due to its excellent strength and durability. In this article, we will guide you through the process step-by-step, ensuring you can master this joint in your wood projects.
What is a Mortise and Tenon Joint?
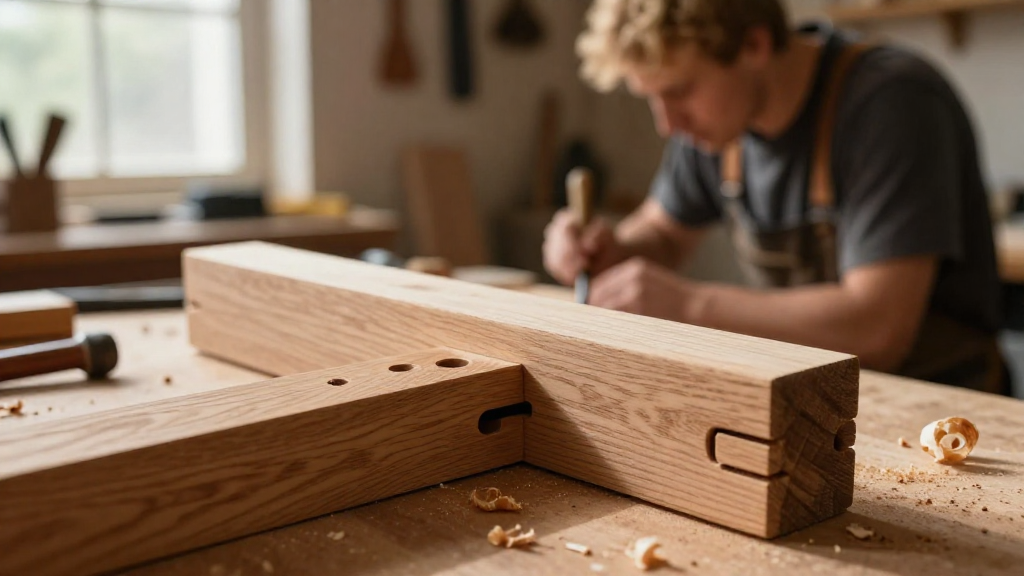
A mortise and tenon joint consists of two main parts:
- The Mortise: A cavity or hole cut into one piece of wood to receive the tenon.
- The Tenon: A projection cut on the end of another piece of wood that fits snugly into the mortise.
This traditional joint is known for its structural integrity and is commonly used in various woodworking applications.
What Tools Do You Need?
Before we dive into the step-by-step process of how to make a mortise and tenon joint, we need to gather the right tools. Here’s a list of essential tools for this task:
- Wood: Choose hardwood for strength, such as oak or maple.
- Chisels: A set of sharp chisels will help you refine the mortise.
- Woodworking Saw: A hand saw or circular saw for cutting the tenon.
- Drill: For creating pilot holes, if needed.
- Mortising Machine or Router: Optional for creating the mortise.
- Marking Tools: A square and pencil for accurate measurements.
- Clamps: To hold pieces together while they dry or set.
Having these tools at your disposal will make the process much smoother.
How Do You Measure and Mark?
Measuring and marking correctly is crucial when learning how to make a mortise and tenon joint.
- Determine Joint Locations: Decide where the joint will be on your piece.
- Measure the Mortise: Typically, the mortise should be about one-third the width of the wood thickness.
- Mark the Mortise Area:
- Use a square to draw the outline of the mortise on one piece of wood.
- Ensure the edges are straight and the corners are square.
- Measure the Tenon: The tenon should suit the mortise; typically, it’s about two-thirds the thickness of the wood.
- Mark the Tenon Area:
- On the other piece of wood, sketch the tenon’s dimensions.
- Again, ensure all lines are straight.
Accurate measurements are the foundation for a successful mortise and tenon joint.
How Do You Cut the Mortise?
Now that you’ve marked your wood, it’s time to cut the mortise.
- Prepare Your Wood: Secure the wood in a vice or with clamps for stability.
- Drill Holes:
- Using a drill and a Forstner bit, drill a series of holes within the mortise outline, making sure they are evenly spaced.
- For added precision, drill slightly undersized holes.
- Chisel Out the Mortise:
- Use a chisel to remove the material between the drilled holes.
- Start from the edges and work towards the center to create a clean cavity.
- Ensure the walls of the mortise are smooth and straight.
By taking your time during this process, you can create a perfect mortise.
How Do You Cut the Tenon?
With the mortise completed, we move on to cutting the tenon.
- Prepare the Wood for the Tenon:
- Cut a piece of wood to the desired length, ensuring it’s slightly longer than necessary.
- Mark the Tenon:
- Use the measurements taken earlier to mark the tenon cuts on the end of the wood.
- Cut the Shoulder:
- Using a saw, cut along the shoulder lines to create the tenon’s shoulder.
- Cut the Tenon:
- Cut down to the shoulder to form the actual tenon.
- Ensure the tenon is slightly tapered, as this will facilitate a snug fit into the mortise.
After cutting the tenon, be sure to test its fit in the mortise.
How Do You Assemble the Joint?
Once you have cut both the mortise and tenon, it’s time for assembly.
- Test the Fit:
- Insert the tenon into the mortise.
- It should fit snugly but not require excessive force.
- Adjust if Necessary:
- If the joint is too tight, use a chisel or sand down the tenon slightly for a better fit.
- Apply Glue:
- When satisfied with the fit, apply wood glue to both surfaces of the mortise and tenon.
- Ensure you apply enough glue for a strong bond without excess oozing out.
- Clamp the Joint:
- Use clamps to hold the joint together while the glue cures.
- Leave it clamped for at least an hour (follow the glue manufacturer’s instructions).
After the glue has set, you can proceed to clean up the joint.
How Do You Finish the Joint?
To ensure your mortise and tenon joint is ready for use, it’s essential to finish it correctly.
- Remove Excess Glue:
- After the glue has dried, remove any excess with a chisel or sandpaper carefully.
- Sand the Joint:
- Use fine sandpaper to smooth the surfaces of the joint.
- Focus on blending the joint into the surrounding wood for a seamless finish.
- Apply Finish:
- If your project allows, apply a wood finish, such as stain or varnish, to enhance the wood’s appearance and protect it from damage.
By following these finishing steps, you will not only enhance the appearance of your joint but also add to its durability.
What Are the Benefits of a Mortise and Tenon Joint?
Understanding the advantages of using a mortise and tenon joint can enhance your woodworking knowledge:
- Strength and Stability: Provides strong mechanical support.
- Tradition: A traditional joint that showcases craftsmanship.
- Versatility: Suitable for a variety of furniture and cabinetry applications.
- Durability: The joint resists pulling apart and is less likely to loosen over time.
Mastering how to make a mortise and tenon joint gives you a fundamental skill to advance your woodworking capabilities.
Conclusion
In summary, how to make a mortise and tenon joint involves careful measuring, cutting, and assembling. This classic joinery technique is both rewarding and incredibly robust, making it a favorite among woodworkers for generations.
By following this guide, you can confidently apply this method in your woodworking projects.
Whether you’re crafting a simple table or an intricate cabinet, mastering the mortise and tenon joint is sure to elevate your craftsmanship.
Happy woodworking!