Creating functional and stylish home accessories is a rewarding endeavor.
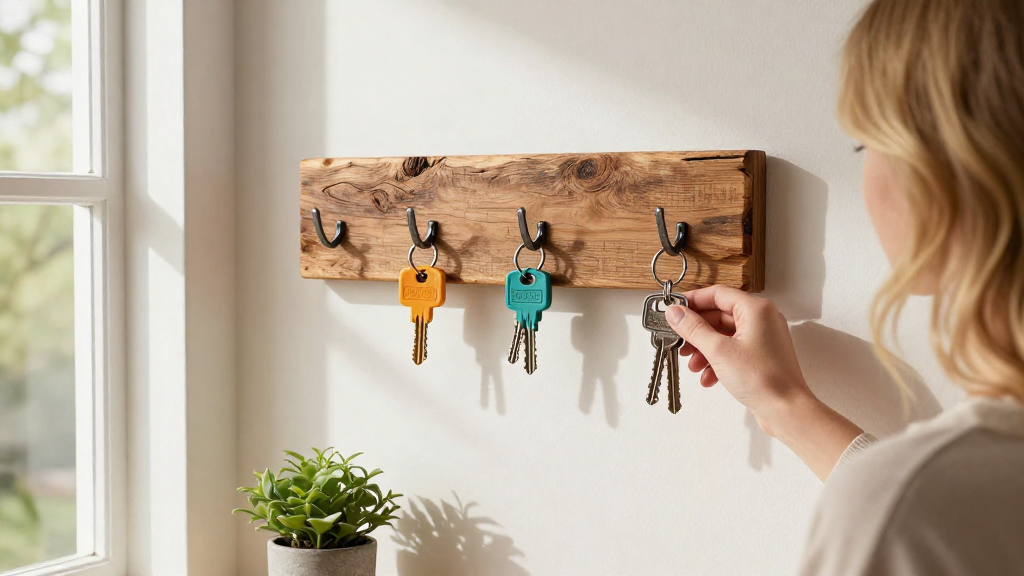
In this article, we will guide you on how to make a wall-mounted key holder that not only helps organize your keys but also adds a touch of personal flair to your décor.
Why Should You Make a Wall-Mounted Key Holder?
Making a wall-mounted key holder is a practical solution for managing your keys and can serve as a decorative piece in your home.
Here are a few reasons to consider:
- Declutter Your Entrance: No more searching for missing keys.
- Personalize Your Space: Customize the design to match your home’s aesthetic.
- Easy Accessibility: Always know where your keys are, saving time and frustration.
- Sustainable Choice: Use reclaimed materials or items you have at home.
What Materials Do You Need?
To start crafting your wall-mounted key holder, gather your materials. Here’s a simplified list:
- Wooden Base: An old cutting board, leftover wood, or a small wooden plank.
- Hooks: You can find decorative hooks at hardware stores or online; repurposed items like old knobs work as well.
- Paint or Stain: Choose a color that complements your décor.
- Drill: For making holes in the wooden base and installing the hooks.
- Screws and Anchors: To attach the key holder to the wall securely.
- Sandpaper: To smooth the wood surface.
- Measuring Tape: For accurate placement.
How Do You Prepare the Wooden Base?
Once you have gathered your materials, it’s time to prepare your wooden base.
-
Choose Your Wood: Select a piece of wooden base that fits the size you envision for your key holder.
-
Sand the Surface: Use sandpaper to smoothen the edges and surface.
– This step is essential for preventing any splinters in the future. -
Clean the Wood: Wipe away any dust particles to ensure a clean surface for painting or staining.
How to Design Your Wall-Mounted Key Holder?
Now that your base is ready, it’s time to get creative with the design.
-
Measure and Mark:
– Decide where you want to place your hooks.
– Measure evenly to ensure a symmetrical look. -
Paint or Stain:
– Apply a coat of paint or stain based on your desired finish.
– Allow it to dry completely before moving on to the next step. -
Consider Adding Hooks:
– Think about how many hooks you need based on the number of keys you want to store.
– Organize them by size, type, or functionality.
How Do You Install the Hooks?
Now that your wooden base is designed, it’s time to install the hooks.
-
Drill Pilot Holes:
– Use a drill to create small holes where you’ve marked for the hooks. -
Attach the Hooks:
– Line the hooks up with the pilot holes and screw them in securely.
– Ensure that each hook is tight and secure to bear the weight of your keys. -
Test Strength:
– Gently pull on each hook to confirm it’s securely fastened.
How Do You Mount the Key Holder on the Wall?
With your hooks installed and the design complete, let’s focus on how to hang your wall-mounted key holder.
-
Choose a Location:
– Select a spot near your front door or a common entryway for easy access to your keys. -
Level It Out:
– Use a level to ensure your key holder is mounted straight. -
Securely Attach:
– Use screws and anchors to mount your key holder.
– Ensure it is securely fastened to the wall to handle everyday use. -
Hang and Organize:
– Once installed, hang your keys on the hooks and enjoy your new organized space.
Can You Personalize Your Wall-Mounted Key Holder?
Absolutely! Personalization adds uniqueness to your DIY project.
Here are a few ideas on how to customize your key holder:
- Add Labels: Use labels for different family members or types of keys.
- Incorporate Hooks of Different Designs: Consider using various styles of hooks for an eclectic look.
- Mosaic Tile Background: Add colorful tiles or pieces of broken pottery for a decorative background.
- Use a Stencil: Paint inspirational quotes or your family name on the holder.
- Add a Shelf: Create additional storage with a small shelf on top of your key holder for mail or small trinkets.
What Are the Benefits of a DIY Wall-Mounted Key Holder?
Creating your own wall-mounted key holder comes with several benefits:
- Cost-Effective: Crafting your own items often saves money compared to purchasing pre-made solutions.
- Creative Outlet: Engaging in DIY projects can be therapeutic and fulfilling.
- Adaptable Design: You can modify the size, shape, and overall design to meet your needs perfectly.
- Increased Value: Handmade items add a personal touch that mass-produced items cannot match.
How to Maintain Your DIY Key Holder?
After creating your wall-mounted key holder, maintaining it is essential to keep it functional and visually appealing.
-
Regular Dusting: Wipe it down regularly to keep dust and dirt at bay.
-
Check Hooks Periodically: Ensure that screws and anchors are tight to prevent accidents or damage.
-
Repaint or Restain When Needed: If your key holder starts to look worn over time, consider giving it a fresh coat of paint or stain.
Conclusion
Creating a DIY wall-mounted key holder is not just a fun and rewarding project; it can significantly enhance your home’s organization while reflecting your personal style.
By following the steps outlined in this guide, you can easily learn how to make a wall-mounted key holder.
Not only will it serve a practical purpose, but it will also be a delightful addition to your home.
So gather your materials, unleash your creativity, and start crafting your own unique wall-mounted key holder today!