Are you tired of rummaging through cluttered drawers? Learning how to make a wooden drawer organizer can transform your space and bring order to the chaos. In this article, we will guide you through the steps needed to create a custom wooden drawer organizer that fits your unique needs.
Why Choose a Wooden Drawer Organizer?
Creating a wooden drawer organizer offers numerous advantages:
- Customization: Tailor the size and compartments to fit your specific items.
- Durability: Wood is a sturdy material that lasts longer than plastic alternatives.
- Aesthetic Appeal: Adds a natural touch to your drawers, enhancing your home décor.
- Sustainability: Using natural wood is an eco-friendly choice.
Now that we understand the benefits, let’s dive into how to make a wooden drawer organizer!
What Materials Do You Need?
Before embarking on your journey, gather all necessary materials. Here’s a comprehensive list:
- Plywood: Choose a thickness of at least 1/2 inch for durability.
- Wood glue: Proper adhesion is key to a lasting project.
- Wood screws: For added strength.
- Sandpaper: Smooth out rough edges for a polished look.
- Wood stain or paint: For a personalized touch (optional).
- Measuring tape: Accurate measurements are essential.
- Clamps: To hold pieces in place while they dry.
- Saw: A hand saw or circular saw will work.
Tools You’ll Need
- Drill: For making holes for screws and for wood glue application.
- Clamps: To secure your project while it dries.
- Ruler: Ensures precision in measuring.
How Do You Measure Your Drawer?
Measuring your drawer accurately is key to creating an effective organizer. Follow these steps:
-
Remove the Drawer: Take the drawer out of its frame for easier access.
-
Measure the Width and Depth: Use your measuring tape to obtain the internal dimensions. Measure the width from one side to the other and the depth from the front to the back.
-
Check the Height: Depending on your organizer’s design, measure the height of the drawer from the bottom to the top.
-
Note Your Measurements: Write down your measurements for reference.
How Can You Design Your Organizer?
After knowing your drawer’s dimensions, it’s time to plan your organizer’s design. Here’s how:
- Identify Your Items: Decide what you want to store. Common items include:
- Utensils (spoons, spatulas)
- Craft supplies (scissors, glue)
- Jewelry (earrings, necklaces)
- Office supplies (pens, clips)
-
Sketch a Layout: Draw a simple design of how you want your organizer to look, including compartments for different items.
-
Plan for Flexibility: Consider adjustable compartments if you plan to add or change items over time.
How to Cut the Wood for Your Organizer?
Now that you have your design, let’s cut the wood:
-
Transfer Measurements: Using a ruler, mark your plywood according to your design on the surface with a pencil.
-
Cut the Plywood: Carefully cut the plywood with your saw. Follow your marks and wear safety goggles.
-
Smooth the Edges: Use sandpaper to sand down any rough edges.
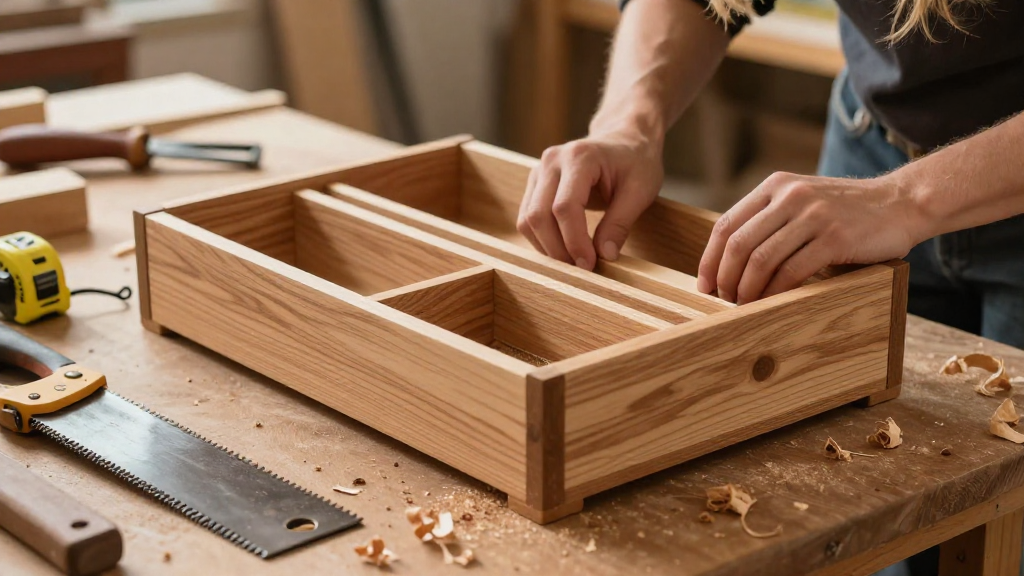
How to Assemble Your Wooden Drawer Organizer?
With your pieces cut, it’s assembly time! Follow these steps:
-
Lay Out the Pieces: Place the cut pieces on a flat surface like a table for easy assembly.
-
Apply Wood Glue: Apply a generous amount of wood glue to the edges that will connect.
-
Assemble the Base: Start by attaching the base and the side panels. Use clamps to hold them in place while drying.
-
Add Dividers: Next, attach the dividers to create compartments. Ensure they are well-aligned.
-
Screw for Extra Strength: Once the glue has dried, reinforce your organizer by placing wood screws into the corners.
How to Finish Your Wooden Drawer Organizer?
Having assembled your organizer, it’s time to give it a finishing touch!
-
Sand Again: Lightly sand the entire surface for an even smoother finish.
-
Stain or Paint: Apply wood stain or paint to match your home’s decor. Make sure you allow it to dry completely.
-
Seal with a Finish: For additional protection, apply a clear sealant over the stain or paint.
How to Place Your Organizer in the Drawer?
Once your wooden drawer organizer is dry and finished, it’s ready to be placed in your drawer.
-
Test the Fit: Gently slide the organizer into the drawer to ensure it fits well.
-
Adjust if Necessary: If it’s too tight, you may need to adjust the organizer’s size.
-
Organize Your Items: Finally, place your items into the respective compartments, enjoying the newfound order in your drawer!
What Are the Tips for Maintaining Your Organizer?
To keep your custom wooden drawer organizer looking its best, here are a few maintenance tips:
- Dust Regularly: Use a microfiber cloth to dust off any accumulated dirt.
- Avoid Moisture: Keep the organizer dry to prevent warping or mold growth.
- Reorganize Frequently: As needed, take the time to reassess the placement of your items for ongoing usability.
Conclusion
Congratulations! You’ve learned how to make a wooden drawer organizer from start to finish.
Creating your custom wooden drawer organizer not only helps declutter your space but also offers a sense of accomplishment.
With some simple tools and materials, you can craft a functional and stylish addition to your home.
Now, it’s time to roll up your sleeves and get started on organizing your space!
Enjoy the satisfaction of having a beautifully arranged drawer that’s uniquely yours. Happy crafting!