Are you a fan of DIY projects and looking for a stylish, functional way to hold your phone?
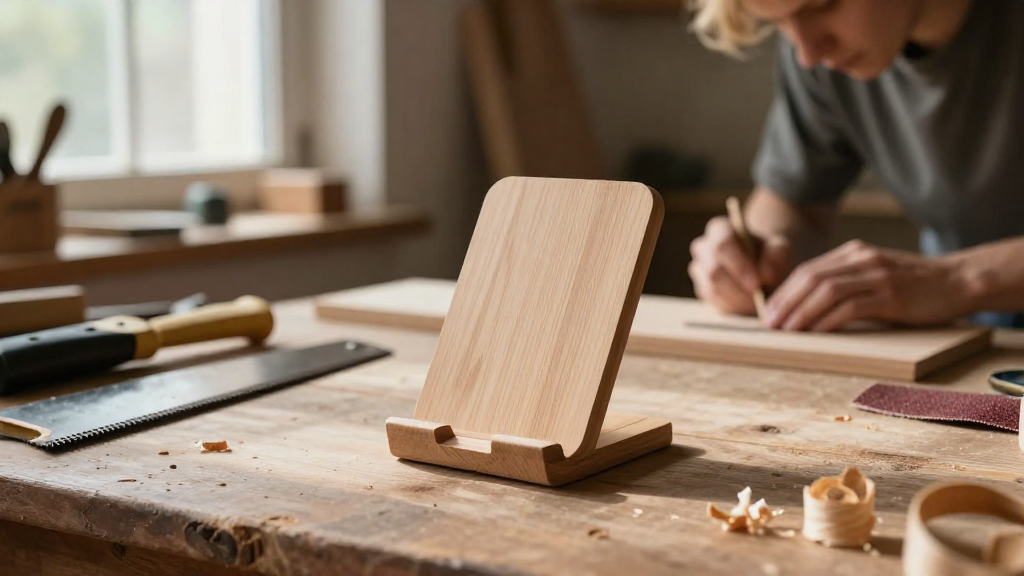
In this article, we will explore how to make a wooden phone stand that is not only minimalist in design but also easy to construct.
Let’s dive into the essentials of crafting your unique stand.
Why Choose a Wooden Phone Stand?
Using wood for your phone stand has numerous benefits:
- Aesthetic Appeal: Wood has a warm, natural look that complements various interior styles.
- Sustainability: Utilizing natural materials is an eco-friendly choice.
- Durability: A wooden structure can outlast plastic counterparts when treated properly.
Wooden phone stands provide functionality without compromising on style, making them a perfect addition to any workspace or home.
What Materials Do You Need?
Before we embark on our DIY journey, let’s gather the necessary materials. Here’s what you will need:
- Wood: Choose a type like pine, oak, or walnut for varied aesthetics.
- Wood glue: This will help you assemble your stand securely.
- Sandpaper: For smoothing rough edges and surfaces.
- Clamps: Useful for holding pieces together while the glue dries.
- Saw: A hand saw or miter saw works best for precise cuts.
- Drill: If you decide to add holes for improved stability.
- Measuring tape: To ensure accurate dimensions.
- Finishing oil or varnish: To protect the wood and enhance its appearance.
Optional:
- Paint or stain: To give your stand a personalized touch.
- Screwdriver: If using screws instead of wood glue for assembly.
How to Make a Wooden Phone Stand – Step by Step
Now that you have your materials ready, let’s proceed with how to make a wooden phone stand. Follow these steps carefully for the best results.
Step 1: Measure and Cut Your Wood
-
Determine Dimensions:
Decide the size of your phone stand based on your phone’s dimensions. A typical stand can measure about 6 inches in height, 4 inches in width, and 3 inches in depth. -
Cut the Wood:
Use your saw to cut the wood pieces according to your measurements. You will generally need:
– 1 Base piece (6″ x 4″)
– 1 Upright piece (6″ x 3″)
– 1 Supporting piece (4″ x 2″)
Step 2: Smooth the Edges
- Sand the Pieces:
Using sandpaper, smooth out the edges and surfaces of your wood pieces.
This is crucial as it prevents splinters.
- Check for Evenness:
Ensure all pieces are even and have no rough edges.
Step 3: Assemble Your Stand
-
Glue the Upright Piece:
Take the upright piece and apply wood glue to its bottom edge. -
Attach to the Base:
Place the upright piece at the center of the base and hold it in place, ensuring that the angle is correct. -
Add the Supporting Piece:
Take the supporting piece and attach it diagonally from the bottom of the upright to the back of the base.
This will provide additional stability for your phone stand.
- Clamp the Pieces:
Use clamps to hold everything in place while the glue dries.
Make sure to follow the glue manufacturer’s drying time for best results.
Step 4: Finishing Touches
-
Check Stability:
After the glue is dry, check the stability of your stand. If it feels unsteady, consider adding more support or adjusting the angles. -
Finish the Wood:
Apply finishing oil or varnish for protection and enhanced aesthetics.
This also makes it resistant to moisture and wear.
- Add Personal Touches:
Consider painting or staining the wood to match your personal décor style.
Step 5: Enjoy Your Creation
After everything is assembled and dried, it’s time to use your new minimalist wooden phone stand.
Place it on your desk, nightstand, or kitchen counter for easy viewing of your phone.
Tips for Success
- Choose Quality Wood: Higher quality wood not only looks better but also lasts longer.
- Be Patient: Allow ample time for glue to dry; rushing can lead to instability.
- Customize: Feel free to adjust dimensions based on the size of your devices or to incorporate additional features like a charging slot.
Where Can You Use Your Wooden Phone Stand?
Your new wooden phone stand is versatile!
Here are a few suggested locations to use it:
- Office: Keep your phone visible for notifications while you work.
- Bedroom: Use it as a nightstand for easy accessibility during the night.
- Kitchen: Great for following recipes while cooking.
Conclusion
Learning how to make a wooden phone stand is a rewarding experience that combines creativity with functionality.
With just a few tools and materials, you can create a stylish accessory that not only holds your phone but also enhances your space.
Whether you decide to keep it simple or customize it further, this project is perfect for beginners and DIY enthusiasts alike.
So gather your materials and start crafting today!
Your minimalist wooden phone stand awaits!