Are you curious how to make wooden toys that will delight children and charm any household?
Creating wooden toys is a rewarding endeavor that combines creativity with craftsmanship.
In this beginner’s guide, we will walk you through all the essential aspects of making simple, yet beautiful, wooden toys that any child would love!
What Materials Do You Need to Make Wooden Toys?
To start your journey into the world of wooden toy making, it’s crucial to gather the right materials. Here’s a list of basic supplies you will need:
- Wood:
- Pine, cedar, or birch are excellent choices.
- Ensure you select non-toxic wood without chemicals.
- Tools:
- Saw (hand saw or jigsaw).
- Sandpaper (varied grits for smoothing).
- Drill (for making holes).
- Safety gear (goggles, mask).
- Finishing Touches:
- Non-toxic paint or wood finish.
- Natural oils (like mineral oil) to seal the wood.
- Optional Accessories:
- String, wheels, or other attachments.
How Do You Design Simple Wooden Toys?
Designing a toy is part of the fun!
Here’s how you can go about it:
-
Choose a Concept:
– Think of what toy you would like to make (cars, animals, blocks).
– Look for simple templates online for inspiration. -
Sketch Your Design:
– Grab a pencil and paper to create a basic layout of your toy.
– Consider dimensions and shapes. -
Plan the Steps:
– Outline the process you will follow.
– Break down the project into manageable parts.
By planning your design, you’ll visualize better how to make wooden toys that will capture the imagination!
What Are the Steps to Make Wooden Toys?
Now that you have your materials and design ready, it’s time to follow these basic steps for how to make wooden toys!
Step 1: Prepare Your Wood
- Start by cutting your wood into the required shapes based on your design.
- Use a saw carefully, ensuring straight cuts for cleaner results.
Step 2: Sand Your Pieces
- Take sandpaper and smooth all edges and surfaces.
- Begin with a coarse grit and gradually progress to finer sandpaper.
- This process removes splinters and makes the toy safe for children.
Step 3: Assemble the Toy
- If your design requires assembly (like a toy car), use wood glue or small screws.
- Ensure the pieces fit snugly together for durability.
Step 4: Finish Your Toy
- Apply a non-toxic paint or wood finish if desired.
- Allow it to dry completely before proceeding with further steps.
- Remember, you can also leave the wood natural for that rustic appeal.
Step 5: Add Any Accessories
- Attach wheels, strings, or other fun components that make your toy interactive.
Step 6: Final Touch and Testing
- Inspect your toy for any rough spots, making sure it’s safe for play.
- Test its functionality — if it’s a car, does it roll well?
Congratulations! You now have your own handcrafted wooden toy.
What Safety Precautions Should You Take?
When learning how to make wooden toys, safety should be a top priority. Consider the following precautions:
- Always wear protective gear: Goggles and a mask protect you from dust and debris.
- Maintain a clean workspace: A tidy area reduces the risk of accidents.
- Follow tool safety guidelines: Familiarize yourself with how to operate tools before using them.
- Choose non-toxic materials: Ensure paint, finishes, and wood are child-safe, especially if the toys will be used by young children.
Where Can You Find Ideas for Wooden Toy Projects?
Finding inspiration is essential for your creative journey into how to make wooden toys. Here are some ideas:
- Online communities and forums: Platforms like Pinterest and DIY blogs often share creative designs.
- Books on woodworking: Look for books dedicated to crafting wooden toys for kids.
- Local workshops: Joining a local woodworking class can provide you with hands-on experience and tips.
- Social media: Follow woodworkers and toy makers on platforms like Instagram and Facebook.
What Are Different Types of Wooden Toys You Can Make?
The beauty of wooden toy making is its versatility!
Here are some types of toys you can create:
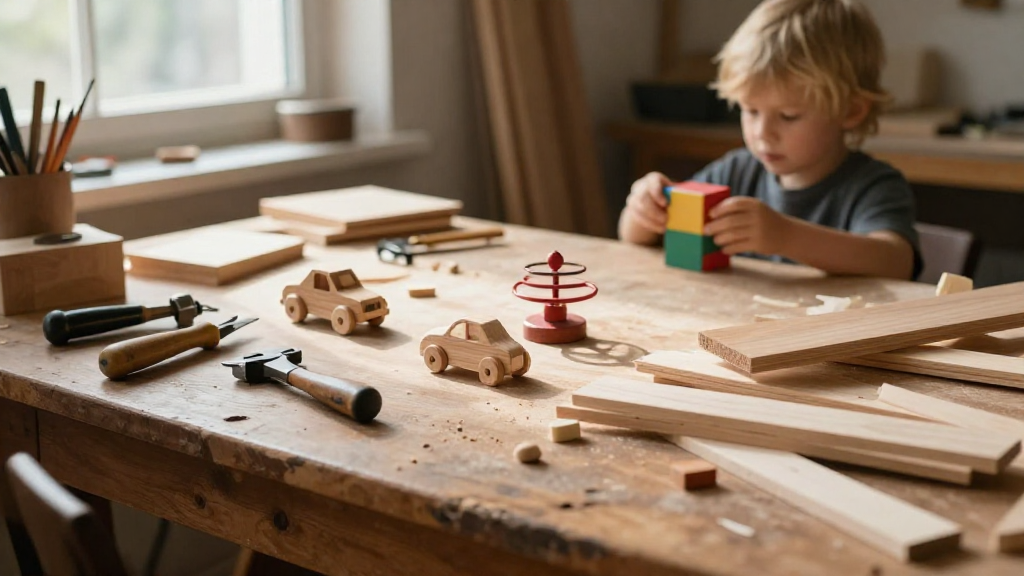
- Building Blocks: Simple shapes that kids can stack and play with.
- Cars and trucks: A classic choice that encourages imaginative play.
- Puzzles: Wooden puzzles can help with fine motor skills.
- Animals: Cute wooden creatures that can be used for storytelling.
- Musical Instruments: Simple maracas or xylophones offer lots of fun!
How to Personalize Your Wooden Toys?
Personalization adds a special touch to your creations. Here are a few ideas on how to customize your toys:
- Names or initials: Engrave or paint the child’s name on the toy.
- Color themes: Use their favorite colors in your paint scheme.
- Themes: Incorporate characters from their favorite shows or stories into your designs.
Why Is It Beneficial to Make Wooden Toys?
Making wooden toys can be incredibly rewarding. Here are some benefits:
- Encourages creativity: Crafting encourages you to express your artistic side.
- Quality time: It’s a great project to do with family and friends.
- Educational: It teaches woodworking skills, problem-solving, and safety awareness.
- Sustainable choice: Wooden toys last longer and are eco-friendly compared to plastic.
Conclusion: Ready to Make Your Own Wooden Toys?
Now that you’ve learned how to make wooden toys, you’re equipped to start your own toy-making journey!
Remember to choose the right materials, plan carefully, and prioritize safety throughout the crafting process.
Whether you make toys for your children, as gifts, or to sell, the joy and satisfaction of creating something with your own hands are truly invaluable.
Happy crafting!