When you’re working on your latest DIY or woodworking project, one important aspect to consider is installing ventilation in a workshop.
Good ventilation keeps the air clean, reduces humidity, and maintains a comfortable working environment. Let’s explore how you can effectively install a ventilation system in your woodshop.
Why Is Ventilation Important in a Woodshop?
Installing ventilation in a workshop is vital for several reasons:
- Air Quality: Dust, fumes, and wood particles can accumulate and pose health risks.
- Humidity Control: Excessive humidity can damage wooden materials and tools.
- Comfort: A well-ventilated space is essential for maintaining a comfortable temperature during long work sessions.
What Are the Different Types of Ventilation Systems?
There are mainly two types of ventilation systems to consider when installing ventilation in a workshop:
-
Natural Ventilation:
– Utilizes windows, doors, and vents to circulate air.
– Cost-effective but may not be suitable for all climates. -
Mechanical Ventilation:
– Uses fans and ductwork to actively move air.
– More effective and reliable in removing dust and fumes.
How Do You Plan Your Ventilation System?
Planning is crucial when installing ventilation in a workshop. Follow these steps to create a solid plan:
-
Assess Your Space:
– Measure the size of your workshop to determine air exchange requirements.
– Identify potential sources of fumes, dust, or humidity. -
Determine Ventilation Needs:
– Calculate the air changes per hour (ACH) needed based on your workshop size and equipment.
– A general guideline is to aim for 4 to 6 ACH for woodworking shops. -
Select Your Ventilation Type:
– Choose between natural or mechanical ventilation based on your assessment.
– If using natural ventilation, consider the number and size of windows and doors.
– For mechanical, decide on exhaust fans, intake fans, or both.
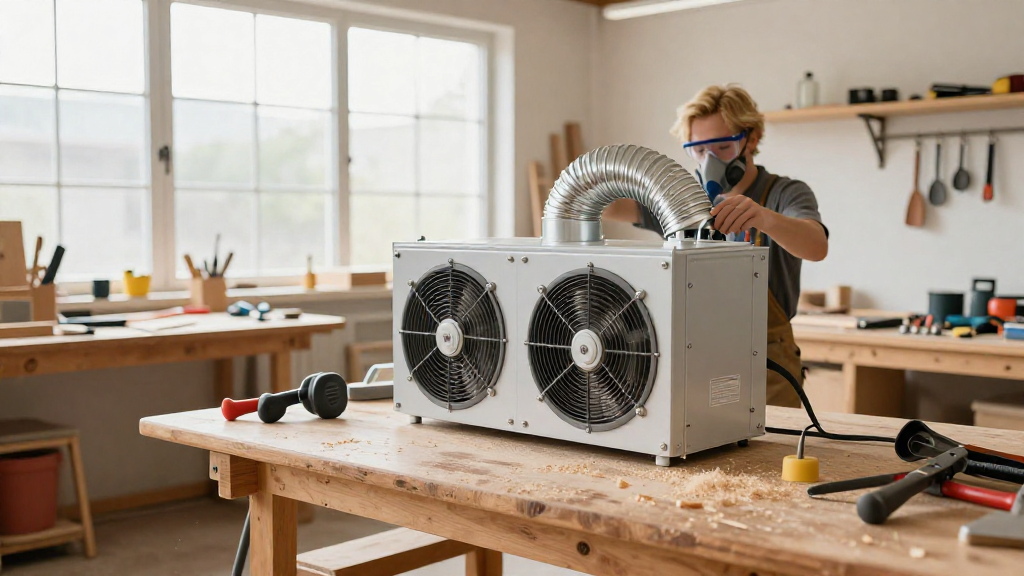
What Equipment Do You Need for Mechanical Ventilation?
If you opt for mechanical ventilation, you will need several crucial tools and equipment for installing ventilation in a workshop:
- Exhaust Fans: To pull dirty air out of your workshop.
- Intake Fans: To bring fresh air inside.
- Ducting: To connect the fans and direct airflow.
- Hoses and Filters: These help capture dust and other particles.
How Do You Install Exhaust Fans?
Installing exhaust fans is a critical step in installing ventilation in a workshop. Here’s a basic guide:
-
Choose the Right Fan Size:
– Select a fan rated for your workshop size.
– Aim for a fan that provides the required CFM (Cubic Feet per Minute) airflow. -
Locate Placement:
– Install the fan near sources of pollution—such as a table saw or router.
– Typically, placing it high on the wall works best, as warm air rises. -
Cut the Hole:
– Mark the area for the fan.
– Use a saw to cut a hole in the wall, following the specifications provided by the fan manufacturer. -
Install the Fan:
– Follow the manufacturer’s instructions to secure the fan in place.
– Make sure to seal any gaps to avoid air leaks.
What About Intake Fans?
Installing ventilation in a workshop often requires balanced air movement through intake fans. Here’s how to set them up:
-
Select Locations:
– Intake fans should be placed opposite the exhaust fans to create proper airflow.
– Consider installing them at a lower height, as cooler air flows in from below. -
Measure CFM Needs:
– Ensure the intake fans provide similar CFM as the exhaust fans for balanced air exchange. -
Install:
– Similar to exhaust fans, cut the hole, secure the fan, and seal any gaps.
How Can You Ensure Dust Collection?
When installing ventilation in a workshop, incorporating a dust collection system can greatly enhance air quality. Follow these steps:
-
Evaluate Your Equipment:
– Check if your large tools already have built-in dust collection systems.
– If not, consider adding an external dust collector. -
Connect Ductwork:
– Use rigid or flexible ductwork to connect your tools to the dust collector.
– Ensure duct sizes match your tools’ dust ports for efficient suction. -
Seal Connections:
– Tape or use clamps to secure duct connections and prevent leaks.
– Regularly check and clean any filters to keep the system running effectively.
How Do You Maintain Your Ventilation System?
Maintaining your ventilation system is crucial in ensuring it remains efficient. Follow these ongoing maintenance tips:
- Regularly Check Filters: Clean or replace filters monthly, especially if you do a lot of woodworking.
- Inspect Ductwork: Look for blockages or sagging areas that may restrict airflow.
- Test Fan Operation: Ensure fans can easily start and operate without excessive noise.
What Safety Precautions Should You Take?
Safety should always be a top priority while installing ventilation in a workshop.
Here are some safety tips to keep in mind:
- Wear Protective Gear: Use masks and goggles when working with airborne particles.
- Ensure Proper Wiring: If you are not an electrical expert, consult a professional to assist with electrical connections safely.
- Follow Local Codes: Adhere to your local building codes and regulations when installing systems.
Final Thoughts: Why Invest in Workshop Ventilation?
In conclusion, installing ventilation in a workshop is not just about comfort; it’s about creating a safe and productive working space.
With careful planning, proper equipment selection, and consistent maintenance, you can enjoy a clean work environment free from harmful dust and fumes.
Take the necessary steps today to improve your woodshop’s air quality and safeguard your health while you create!