Learning how to make pocket holes is an essential skill for any DIY enthusiast or professional woodworker.
Pocket holes create strong and secure joints that can significantly enhance the durability of your woodworking projects.
In this article, we’ll explore the basics of pocket hole joints, what tools you need, the step-by-step process to create them, and some important tips for ensuring you achieve the best results.
What Are Pocket Holes?
Pocket holes are angled holes drilled into a piece of wood that allow you to join it to another piece, using screws.
This technique is incredibly popular because:
- Strength: Pocket hole joints are robust due to the angle of the screw.
- Ease of Use: They are relatively easy to make, even for beginners.
- Concealed Fastening: The screws are hidden within the pocket, giving a clean look to your projects.
Understanding how to make pocket holes means you can create furniture, cabinets, and other wooden structures that are not only functional but also aesthetically pleasing.
What Tools Do You Need to Make Pocket Holes?
Before diving into the process of how to make pocket holes, you should gather the necessary tools.
Here’s what you will need:
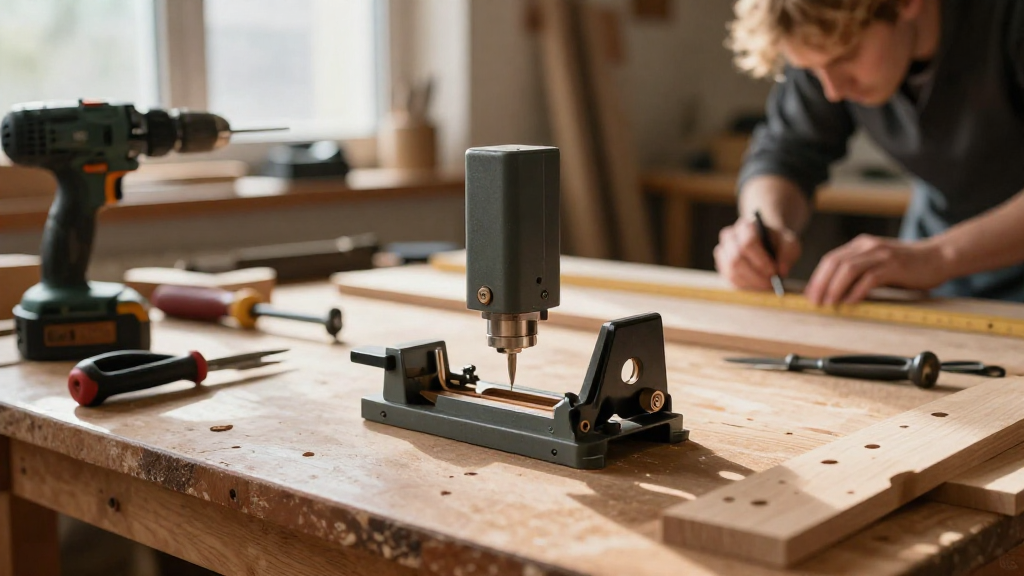
- Pocket Hole Jig: This is the most crucial tool. It holds the wood in place and guides the drill bit at an angle.
- Drill and Bit: A power drill is essential, along with a specialized pocket hole drill bit that matches your jig.
- Screws: Choose pocket hole screws, which are specifically designed for this purpose and often have a washer head.
- Wood Clamps: For holding your pieces securely while you drill and assemble.
- Measuring Tape and Pencil: For accurate measurements and markings.
- Safety Gear: Always wear eye protection and a dust mask when drilling.
How Do You Set Up Your Pocket Hole Jig?
Setting up your pocket hole jig properly is critical for successful joint creation.
Here’s a quick guide on the setup process:
-
Adjust the Depth Setting:
– Most jigs come with an adjustable clamp to accommodate different wood thicknesses.
– Set the depth according to the thickness of the wood you’ll be joining. -
Secure the Wood:
– Place the wood piece in the jig’s clamp.
– Make sure it’s positioned firmly to avoid movement or misalignment. -
Choose the Right Drill Bit:
– Attach the appropriate drill bit to your power drill. Ensure it matches the pocket hole jig’s specifications. -
Align the Jig:
– Check that your jig is aligned correctly with the drill bit for accurate drilling.
How to Make Pocket Holes: The Step-by-Step Process
Now that you have your tools in place and your jig set up, it’s time to learn how to make pocket holes.
Follow this step-by-step guide for creating strong pocket holes:
-
Mark Your Wood:
– Mark where you want to drill the pocket holes.
– Ensure that you are marking on the back side of the wood where the joints will not be visible. -
Drill the Pocket Holes:
– Insert the drill into the jig’s hole.
– Drill straight down, making sure to apply even pressure.
– Drill the number of pocket holes required for your joint (usually two for each connection, more for larger pieces). -
Prefill the Pocket Holes with Screws:
– Insert the screws into the drilled holes to help guide them into the adjoining piece of wood. -
Join the Pieces:
– Align the two pieces of wood you want to join.
– Use wood clamps to hold them firmly in place. -
Drive the Screws:
– Use a power screwdriver to drive the screws into the adjoining piece of wood.
– Be sure to tighten enough for a strong connection without over-tightening. -
Finish the Joint:
– Once the screws are in place, remove the clamps and check the joint for stability.
What Are the Advantages of Using Pocket Holes?
Understanding the advantages of pocket holes can help you appreciate why you should learn how to make pocket holes.
Here are some key benefits:
- Quick Assembly: Jointing with pocket holes saves time, as you can make fast, reliable connections.
- No Complicated Joinery Needed: Pocket holes simplify the joining process, eliminating the need for extensive woodworking skills.
- Flexible Design: You can use pocket holes in various project types, from cabinets to frames.
- Minimal Clamping Required: Unlike other joinery methods, pocket holes require less setup of clamps, speeding up the assembly process.
What Common Mistakes Should You Avoid?
When learning how to make pocket holes, it’s essential to steer clear of common pitfalls that can lead to poor results.
Here are some mistakes to avoid:
- Wrong Drill Bit Angles: Ensure you set the jig correctly to avoid drilling at the wrong angle.
- Inadequate Clamp Pressure: Failing to secure your workpieces can lead to misalignment during drilling.
- Using Incorrect Screw Lengths: Ensure you choose the right screw lengths to avoid breakout on the other side.
- Skipping Pre-Drilling or Failure to Adjust for Wood Thickness: Always confirm your settings match the wood’s thickness for a secure joint.
How Do You Finish Your Pocket Hole Projects?
After mastering how to make pocket holes, consider some finishing techniques for your projects.
Here are a few tips:
- Sanding: Always sand your joints to smooth out any rough edges.
- Painting or Staining: Finish your project with paint or stain that matches your decor.
- Sealing: Consider sealing your wood to protect against moisture and wear.
Conclusion
Learning how to make pocket holes can drastically improve the quality of your woodworking projects.
By following the steps outlined in this guide:
- You will be able to create strong and durable joints effectively.
- You’ll enjoy enhanced aesthetics in your furniture and cabinets.
- With practice, you’ll achieve professional-quality results.
Invest in quality tools, be mindful of common mistakes, and finish your projects with care.
Before long, you’ll be using pocket holes as your go-to joining method, making your woodworking experience more enjoyable and rewarding.
So, grab your tools, start practicing, and see the difference pocket holes can make!