Learning how to use wood glue properly is essential for anyone who enjoys woodworking, crafting, or home repair.
Whether you’re building furniture, fixing a broken chair, or engaging in various DIY projects, the correct application of wood glue can make all the difference in achieving a strong and lasting bond.
What Types of Wood Glue Should I Use?
Understanding the different types of wood glue is the first step in knowing how to use wood glue properly.
Here are some common types:
-
PVA (Polyvinyl Acetate) Glue:
– This is the most common type of wood glue and is ideal for indoor projects.
– It dries clear and offers a strong bond. -
Polyurethane Glue:
– Known for its powerful adhesive properties, this type expands as it dries.
– It’s suitable for outdoor projects due to its water-resistant qualities. -
Hide Glue:
– This traditional glue is made from animal collagen and is often used in delicate woodwork.
– It allows for repairs and can be reactivated with heat and moisture. -
Epoxy:
– A two-part adhesive, epoxy is exceptionally strong and fills gaps well.
– It can be used for both wood and non-wood materials.
Each type of wood glue serves a different purpose, so choose one according to your project’s requirements.
How Do I Prepare the Wood for Gluing?
To ensure that you are effectively employing techniques on how to use wood glue properly, proper preparation is essential.
- Clean the surfaces: Remove dust, grease, or old glue with sandpaper and a damp cloth.
- Fit the pieces together: Make sure they align properly before applying the glue.
- Sand the edges: This promotes better adhesion by increasing the surface area.
By taking these steps, you prepare the wood for a strong bond and reduce the risk of future failures.
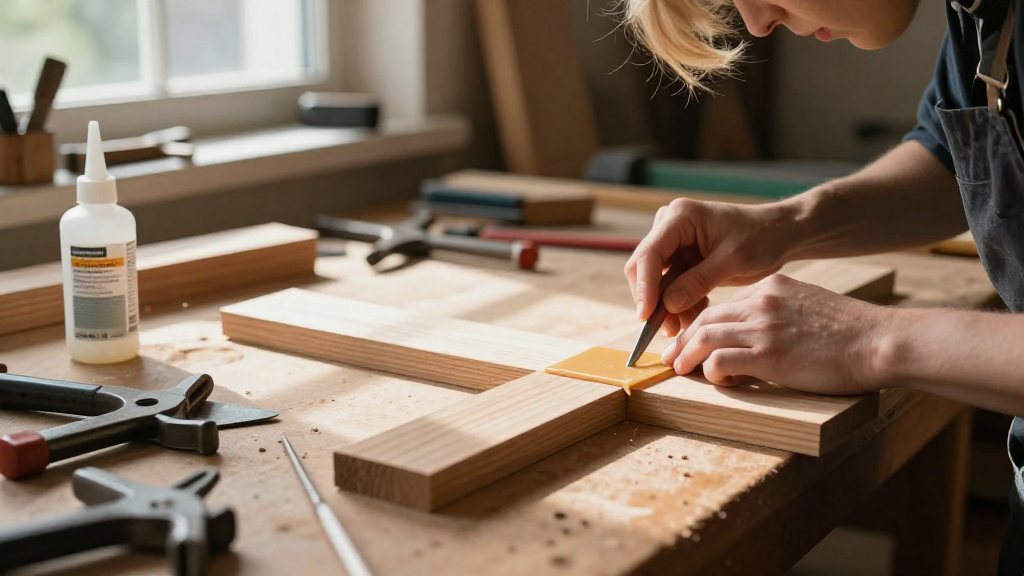
How Much Wood Glue Should I Use?
When considering how to use wood glue properly, one common question arises: “How much wood glue do I need?”
- A little goes a long way: Apply a small bead of glue along the joint.
- Use a brush or spreader: Evenly spread the glue to cover the entire joint surface.
- Avoid excess: Too much glue can lead to a messy finish and weaken the bond.
Ultimately, applying an appropriate amount of glue ensures better control and a clean finish.
How Should I Clamp the Pieces Together?
Clamping is a critical step in how to use wood glue properly. Proper pressure ensures strong adhesion and enhances the overall strength of the joint:
- Choose the right clamps: Depending on your project, you might need bar clamps, pipe clamps, or spring clamps.
- Apply even pressure: Make sure the edges of the wood are aligned and that the clamps apply even pressure across the joint.
- Check for glue squeeze-out: This is a sign that the glue has made contact with both surfaces.
Clamping not only helps the glue bond but also keeps everything aligned while it dries.
How Long Should I Let the Glue Cure?
The curing time is crucial in your understanding of how to use wood glue properly. Each type of wood glue has different drying and curing times:
- PVA Glue: Usually needs 30 minutes to one hour to set, but 24 hours to fully cure.
- Polyurethane Glue: Cures more slowly; allow at least 24 hours.
- Hide Glue: Dries relatively quickly, but it’s best to avoid stress on the joint for 12 hours.
- Epoxy: Can take anywhere from 4 to 24 hours to cure, depending on the brand and conditions.
Make sure to follow the manufacturer’s instructions for drying times and avoid putting stress on the joint until curing is complete.
What Precautions Should I Take?
Safety is paramount when you’re learning how to use wood glue properly. Here are some precautions to keep in mind:
- Work in a well-ventilated area: Particularly important when using polyurethane or epoxy glues.
- Wear gloves: Protect your skin from the glue, particularly with polyurethane and epoxy.
- Keep away from children: Store your adhesives safely, out of the reach of young ones.
- Follow instructions: Always refer to the product guidelines for specific safety and usage advice.
Taking these precautions helps you safely enjoy your woodworking projects.
Can I Paint or Stain Over Wood Glue?
Another common question when learning how to use wood glue properly is whether you can paint or stain over it.
- PVA Glue: Typically accepts paint and stains well once fully cured.
- Polyurethane Glue: May not accept some finishes; it’s better used in hidden joints.
- Hide Glue: Can be sanded smooth and painted over easily.
- Epoxy: Some epoxies can be painted if they are specifically labeled for that use.
Always perform a small test before applying paint or stains to ensure compatibility.
What Common Mistakes Should I Avoid?
To master how to use wood glue properly, being aware of common mistakes is essential:
- Using old glue: Check expiration dates as old glue may not bond well.
- Not clamping enough: Inadequate clamping can lead to weak joints.
- Applying glue on dirty surfaces: Dirt can interfere with the adhesive properties of the glue.
- Rushing the process: Allowing time for proper drying and curing is essential.
By avoiding these common pitfalls, you will significantly enhance your woodworking results.
How Do I Clean Up Excess Wood Glue?
Over-application of wood glue can create unsightly messes, but learning how to use wood glue properly includes knowing how to clean up excess:
- For wet glue: Wipe it off immediately with a damp cloth.
- For dried glue: Use a chisel or sandpaper to carefully remove excess glue.
- For stubborn spots: A bit of vinegar can help loosen dried glue without damaging wood.
Prompt cleanup will not only make your workspace look neater but also prevent issues during the finishing stages.
Conclusion: Mastering Wood Glue for Long-Lasting Projects
Understanding how to use wood glue properly can elevate your woodworking projects to a new level.
By selecting the right type of glue, preparing your wood adequately, and following the correct application and clamping methods, you can achieve strong, durable bonds that stand the test of time.
With practice and attention to detail, you’ll become adept at using wood glue in all your crafting endeavors. Happy gluing!