Building a blanket chest can be a rewarding DIY project that not only provides functional storage but also adds a touch of charm to your home.
In this comprehensive guide, we’ll walk you through the entire process, from selecting materials to the final finishing touches. By the end, you’ll have a beautiful blanket chest you can be proud of.
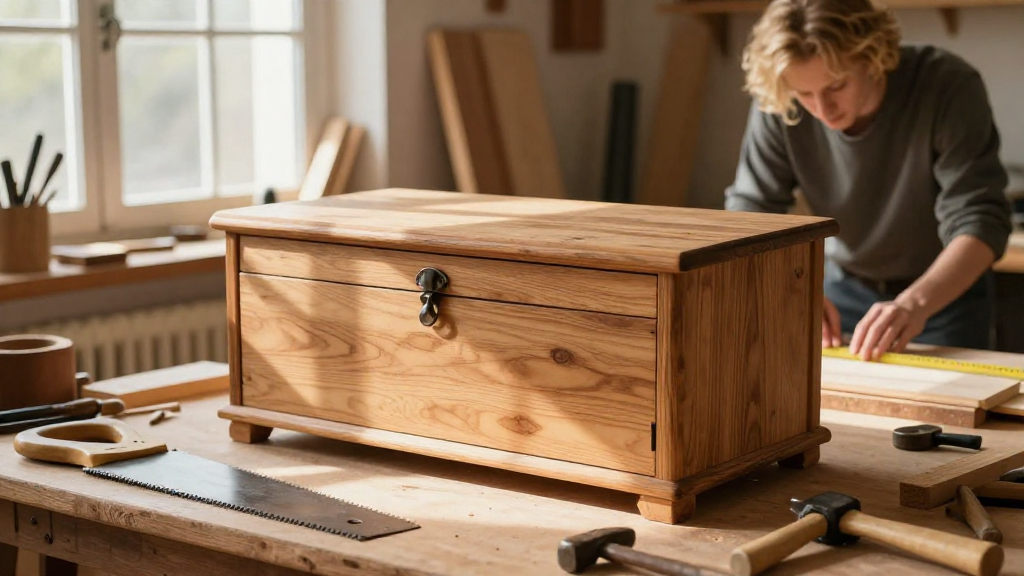
What is a Blanket Chest?
A blanket chest is a sturdy box used primarily for storage of blankets, linens, and other items.
They come in various designs and sizes, making them a versatile addition to any room.
These chests can serve multiple purposes:
– Storage: Keep your home organized by storing off-season blankets and linens.
– Seating: Use it as extra seating in living areas or at the foot of your bed.
– Decor: A beautifully crafted blanket chest can serve as a decorative element in your home.
What Materials Do You Need for Building a Blanket Chest?
Before you start building a blanket chest, gather the necessary materials.
Here’s a comprehensive list:
- Wood: Choose high-quality wood such as pine, cedar, or oak for durability and aesthetics.
- Wood Glue: Essential for securing joints.
- Wood Screws: To hold pieces together firmly.
- Sandpaper: For smoothing edges and surfaces.
- Stain or Paint: To finish the chest, enhancing its appearance.
- Hinges: For the lid’s opening mechanism.
- Safety Hinges: Prevent the lid from slamming shut.
- Tools:
– Circular saw or handsaw
– Drill
– Screwdriver
– Measuring tape
– Clamps
How to Plan Your Blanket Chest?
Planning your project is crucial when building a blanket chest.
Step 1: Measure Your Space
- Determine where you’ll place the chest.
- Use a measuring tape to get the dimensions, ensuring it fits comfortably.
Step 2: Decide on Dimensions
- A standard blanket chest is typically 48 inches long, 18 inches wide, and 18 inches high.
- Adjust the dimensions to fit your space and needs.
Step 3: Choose a Design
- Select a style that matches your home decor—traditional, modern, or vintage.
- Consider whether you’d like decorative details such as carvings or inlays.
How Do You Cut the Wood?
Once you’ve planned your design and materials, it’s time to start cutting the wood for your blanket chest.
Step 1: Mark the Wood
- Use a measuring tape and pencil to mark where you’ll cut.
- Ensure all pieces are square and straight.
Step 2: Cut the Panels
You need to cut the following panels:
– Front and Back Panels: Cut two pieces according to your chosen dimensions.
– Side Panels: Cut two pieces of equal length.
– Bottom Panel: Cut one piece that fits snugly inside the chest.
– Lid Panel: Cut a larger piece to serve as the top.
Step 3: Ensure Smooth Edges
- Sand all edges with sandpaper to prevent splinters.
- Aim for a smooth surface ready for finishing.
How to Assemble the Blanket Chest?
Now that everything’s cut and sanded, you can start assembling your blanket chest.
Step 1: Create the Box
- Attach the Side Panels: Use wood glue and screws to attach the side panels to the back panel.
- Add Front Panel: Secure the front panel using the same method.
- Install the Bottom Panel: Place the bottom panel inside the chest, securing it with screws.
Step 2: Attach the Lid
- Determine Hinges Placement: Decide where you want the hinges on the back of the chest.
- Install Hinges: Attach the hinges to both the lid panel and the back panel.
- Test the Lid: Open and close the lid to ensure smooth operation.
Step 3: Add Safety Features
- Attach safety hinges to prevent the lid from slamming shut and potentially causing injury.
How to Finish Your Blanket Chest?
Finishing touches are what truly make your blanket chest stand out.
Step 1: Sand the Surface
- Go over the entire chest with fine-grit sandpaper.
- Ensure there are no rough spots.
Step 2: Apply Stain or Paint
- Choose a stain or paint that matches your decor style.
- Apply a first coat and allow it to dry.
- Add additional coats for deeper color or enhanced durability.
Step 3: Seal the Surface
- Consider applying a clear sealant to protect the wood.
- This will help preserve the finish and durability of your blanket chest.
How to Maintain Your Blanket Chest?
Building a blanket chest is just the beginning—keeping it in good condition is essential.
Cleaning
- Wipe down the surface with a damp cloth regularly.
- Avoid using harsh chemicals that might damage the finish.
Inspect for Damage
- Check for any signs of wear or damage.
- Address scratches or wear marks quickly to prevent spreading.
Refinish as Needed
- Depending on usage, you may need to refinish your chest every few years.
- Sand and reapply stain or paint as needed to keep it looking fresh.
Conclusion: Why Build a Blanket Chest?
Building a blanket chest is an enjoyable and practical DIY project.
Not only will it enhance your living space, but it will also provide you with valuable storage.
With proper planning, materials, and attention to detail, you can create a beautiful chest that serves your family well for years to come.
So gather your tools and get started on your journey to building a blanket chest that is both functional and aesthetically pleasing!