When working with wood, knowing how to drill pilot holes is essential for preventing splits and cracks.
What Are Pilot Holes and Why Do We Need Them?
Pilot holes are small holes drilled into wood before inserting screws or nails. They serve several important purposes:
- Preventing Wood Splitting: Drilling a pilot hole reduces the pressure on the wood fibers, significantly minimizing the risk of splits.
- Enhancing Accuracy: Pilot holes help guide screws and nails into the correct position.
- Improving Fastening Efficiency: With a pilot hole, driving screws becomes easier, requiring less force and reducing the chance of damaging the material.
One of the most important parts of woodworking is mastering how to drill pilot holes properly.
How to Determine the Right Size for Your Pilot Hole
Determining the appropriate size for your pilot hole is crucial. A hole that is too small may not allow the screw to enter without forcing it, while one that is too large may not hold the screw securely.
Typical guidelines for choosing the right pilot hole size include:
- For softwoods: Use a bit that is about 90% the diameter of the screw.
- For hardwoods: The pilot hole should be roughly 75-80% of the screw’s diameter.
- For lag screws or large fasteners: Consider using a drill bit that matches the core diameter of the screw.
What Tools Do You Need to Drill Pilot Holes?
To effectively drill pilot holes, you’ll need:
- Drill/Driver: A power drill or a manual drill suited to the size of your project.
- Drill Bits: Choose a variety of bits to match the size of your screws. Commonly, twist drill bits are used.
- Clamps: These help to secure your workpiece while drilling.
- Measuring Tools: Use a tape measure or a ruler for accurate hole placement.
Having the right tools ensures that you can drill pilot holes accurately and effectively.
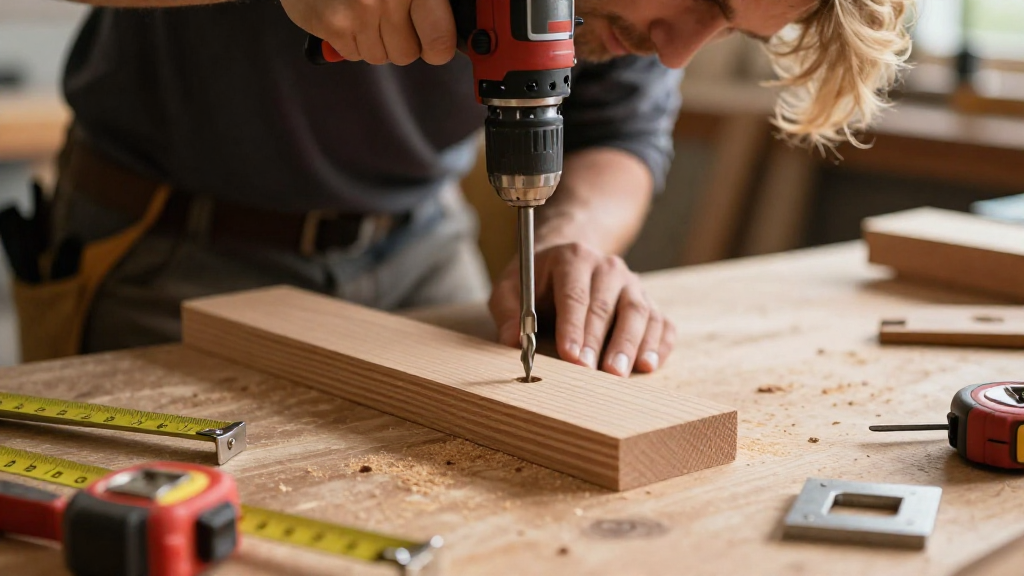
How to Drill Pilot Holes in Step-by-Step Instructions
Now that you know what pilot holes are and the tools you’ll need, here’s a simple step-by-step guide on how to drill pilot holes:
-
Mark the Wood: Decide where you need the pilot holes. Use a pencil to mark the spots accurately.
-
Clamp the Workpiece: Secure your wood using clamps. This prevents movement when drilling, ensuring accuracy and safety.
-
Choose the Right Drill Bit: Select the appropriate drill bit based on the size of your screw as discussed above.
-
Set the Drill Depth: If your drill has a depth stop, set it to the length of the screw to avoid drilling too deep.
-
Drill the Hole:
– Align the drill bit with your pencil mark.
– Hold the drill steady and apply even pressure as you start.
– Drill the pilot hole to the predetermined depth. -
Remove Debris: Once you’ve drilled the hole, remove any wood shavings or debris. This helps in ensuring a clean fit for screws.
-
Check Alignment: Before proceeding to insert screws, ensure that the pilot holes are aligned with the other parts you are working with.
When Should You Drill Pilot Holes?
Knowing when to drill pilot holes can save your wood from unnecessary damage. Consider drilling pilot holes in the following cases:
- When Using Large Screws: Large screws require deeper pilot holes to prevent the wood from splitting.
- When Working with Hardwoods: Hard woods are more prone to cracking when screws are driven into them, so drilling a pilot hole is a good practice here.
- For close-edge Fastening: If you’re placing screws near the edge of a board, always drill pilot holes to avoid splits.
- For Screwing at an Angle: Pilot holes help direct screws at angles more efficiently.
Can You Use a Pilot Hole When Nailing?
Absolutely!
While pilot holes are typically associated with screws, they can also be beneficial for nails.
Using pilot holes for nails helps to keep everything aligned and eliminates the chance of splintering when driving the nail.
Tips for Drilling Pilot Holes Like a Pro
Here are some additional tips to enhance your pilot hole drilling technique:
- Use a Sharp Drill Bit: A sharp bit reduces resistance, making holes easier to drill and improving precision.
- Drill at a Slow Speed: This helps minimize heat build-up and improves control.
- Practice On Scrap Wood: If you’re unsure about your drilling technique, practice on a piece of scrap wood first.
- Use the Right Pressure: A steady, moderate pressure will give better results than forcing the bit through the wood.
Common Mistakes to Avoid
While drilling pilot holes might seem straightforward, here are some common pitfalls to avert:
- Forgetting to Clamp Down: Not securing the wood can lead to imprecise holes.
- Using the Wrong Drill Bit Size: As mentioned, mismatched sizes can result in poor fastening.
- Drilling at an Angle: Always ensure that your drill is perpendicular to the wood surface to keep holes straight.
- Neglecting to Clear Debris: Failing to remove wood shavings can obstruct the screw after you’ve drilled your pilot hole.
Conclusion
Knowing how to drill pilot holes is an invaluable skill for any woodworking enthusiast.
It not only enhances the aesthetic quality of your work by preventing splits but also ensures structural integrity and durability.
By following the steps outlined above, using the right tools, and being mindful of common mistakes, you can significantly improve the quality of your wood projects.
So the next time you work with wood, remember to incorporate pilot holes into your process for a professional finish!