If you’ve ever wondered what is a dado cut, you’re in the right place. Dado cuts are an essential woodworking technique that allows you to create strong joints and provide a neat, aesthetically pleasing finish to your projects.
In this article, we’ll explore what a dado cut is, its various applications, and, most importantly, how to make one.
What Is a Dado Cut?
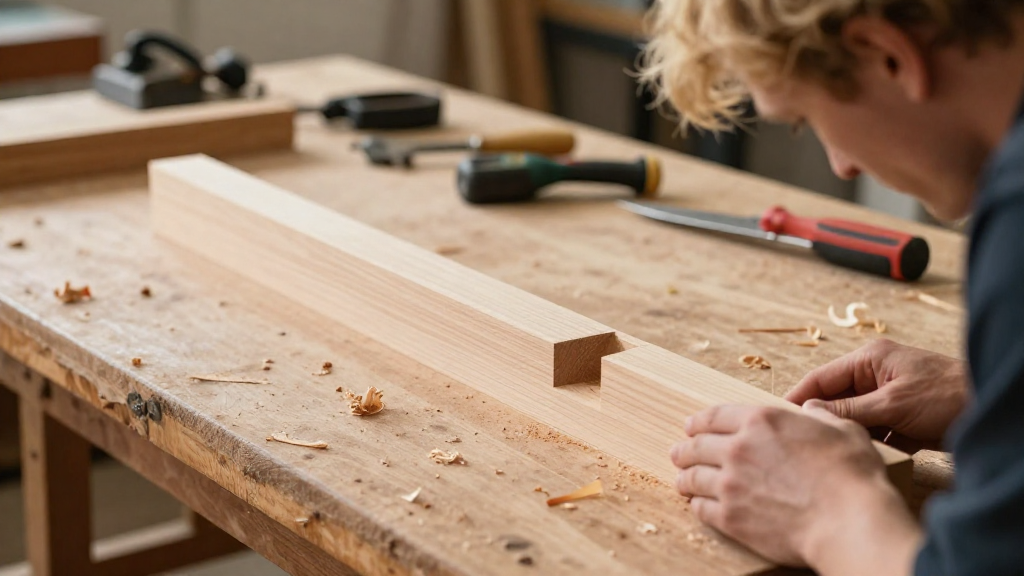
A dado cut is a type of groove or notch that is cut into the surface of a piece of wood.
This cut is specifically designed to accommodate another piece of wood, such as a shelf or vertical divider.
Dado cuts can be found in numerous woodworking projects, including cabinets, bookshelves, and furniture.
Here are some key features of a dado cut:
- Shape: Usually rectangular
- Depth: Can vary depending on the project, typically deeper than a rabbet cut
- Angle: Typically cut straight across
Understanding what is a dado cut is a fundamental skill for both beginner and experienced woodworkers.
Why Use a Dado Cut?
Before jumping into the process of making a dado cut, let’s discuss why you might choose to use one in your woodworking projects.
- Strength: Dado cuts provide a larger surface area for gluing, leading to stronger joints.
- Alignment: They help in aligning different parts of the project, making assembly easier.
- Aesthetics: Dado cuts can give your project a neat and professional appearance.
- Versatility: They are used in various projects, from furniture to cabinetry.
Now that you understand the benefits, let’s move on to how to create a dado cut.
What Tools Do You Need for a Dado Cut?
To start making a dado cut, you will need the following tools:
- Table saw or router: The most common tools for creating dado cuts.
- Dado blade set (for table saws): These specialized blades are designed to cut wide grooves.
- Measuring tape: To ensure accuracy in your measurements.
- Square: A framing square or carpenter’s square helps to mark straight lines.
- Clamps: To secure your wood pieces while cutting.
- Safety equipment: Always wear safety glasses and hearing protection.
How Do You Measure for a Dado Cut?
Before cutting, accurate measurements are crucial. Here’s how you can measure for a dado cut:
- Determine the width of the material: Knowing the thickness of the shelf or divider that will fit into the dado is essential.
- Calculate the location of the cut: Decide where you want the dado cut to be placed on the main piece of wood.
- Mark the cut: Use a square to draw lines across the wood, indicating the start and end points of the dado cut.
How to Make a Dado Cut with a Table Saw
One of the most efficient ways to create a dado cut is by using a table saw. Follow these steps:
-
Set up your table saw: Adjust the fence to the width of your desired dado cut.
-
Install the dado blade: If you’re using a dado blade set, assemble it according to the manufacturer’s instructions.
-
Set the depth: Adjust the blade height to the desired depth of the dado cut.
-
Make the cut:
- Slide your wood piece along the fence to guide it through the blade.
- Make multiple passes if necessary to achieve the desired width of the dado cut.
-
Check for fit: After cutting, test the fit of the shelf or divider in the dado. Adjust if necessary.
How to Make a Dado Cut with a Router
If you prefer using a router, here’s how to make a dado cut:
-
Select a straight bit: Choose a straight router bit that corresponds to the width of your intended dado.
-
Set the depth: Adjust the depth of the router bit to achieve the desired cut depth.
-
Create a guide: Use a straight edge or clamped piece of wood as a guide for stability while cutting.
-
Make the cut:
- Engage the router and gently push it along the guide, maintaining steady pressure.
- Make multiple passes for a wider dado, if needed.
-
Test the fit: Just like with a table saw, check the fit of your shelf or divider to ensure accuracy.
What Are the Common Mistakes to Avoid When Making a Dado Cut?
Even experienced woodworkers can make mistakes when cutting dados. Here are some common pitfalls to avoid:
- Incorrect measurements: Always double-check your measurements before cutting.
- Improper blade height: Ensure your blade is set to the correct depth; cutting too shallow will result in a poor fit.
- Rushing the process: Take your time to ensure clean, precise cuts.
- Neglecting safety: Always wear appropriate safety gear during cuts to protect yourself from flying debris.
Finishing Touches: What Next After Making a Dado Cut?
Once you have successfully made a dado cut, it’s time to finish your project. Here are a few steps you may want to consider:
- Clean the cut: Remove any splinters or rough edges using sandpaper or a file.
- Apply glue: If you’re fitting another piece into the dado, apply wood glue for a strong bond.
- Clamp the pieces: Use clamps to hold the pieces in place while the glue dries.
- Finish your project: After everything has set, you can paint or stain the wood as desired.
Final Thoughts: What Is a Dado Cut and Why It Matters?
In conclusion, understanding what is a dado cut is crucial for anyone interested in woodworking.
Dado cuts are not only functional; they can significantly enhance both the strength and beauty of your projects.
By following the steps outlined in this article, you can create dado cuts that will make your woodworking endeavors more successful.
As you gain more experience, you may find innovative ways to incorporate dado cuts into your unique projects.
Happy woodworking!